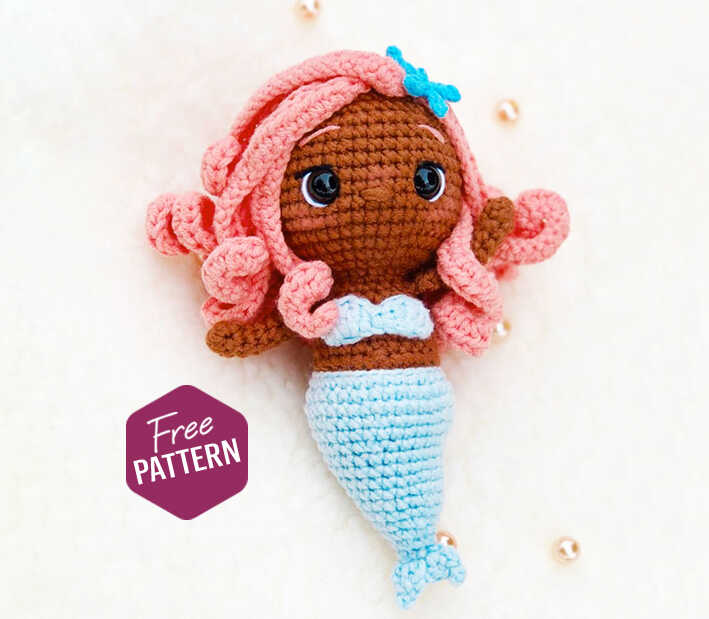
Mermaid Marina Crochet Free Amigurumi Pattern
Designer: Karol Alvarenga
Instagram: @vocininha
I’ve got a sweet new pattern to share with you…
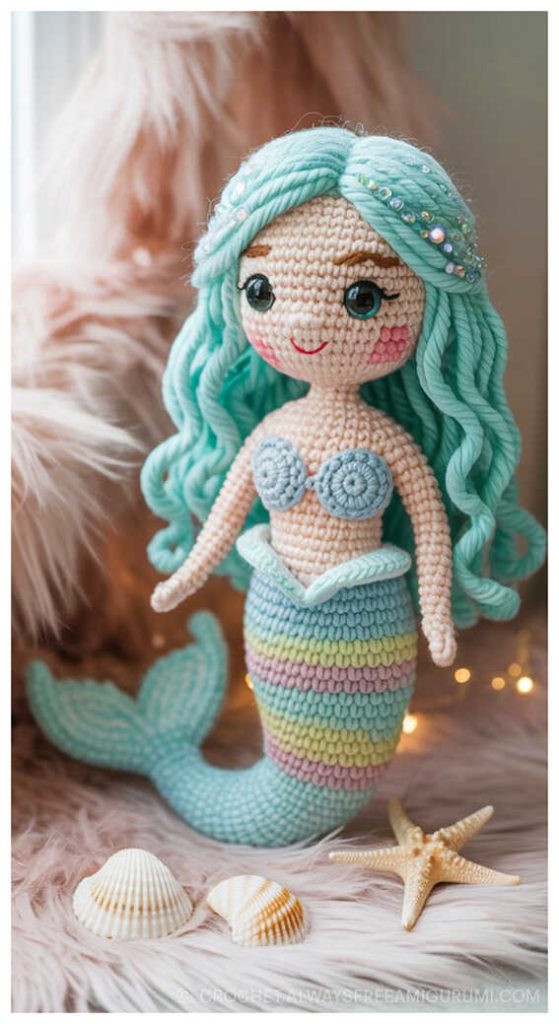
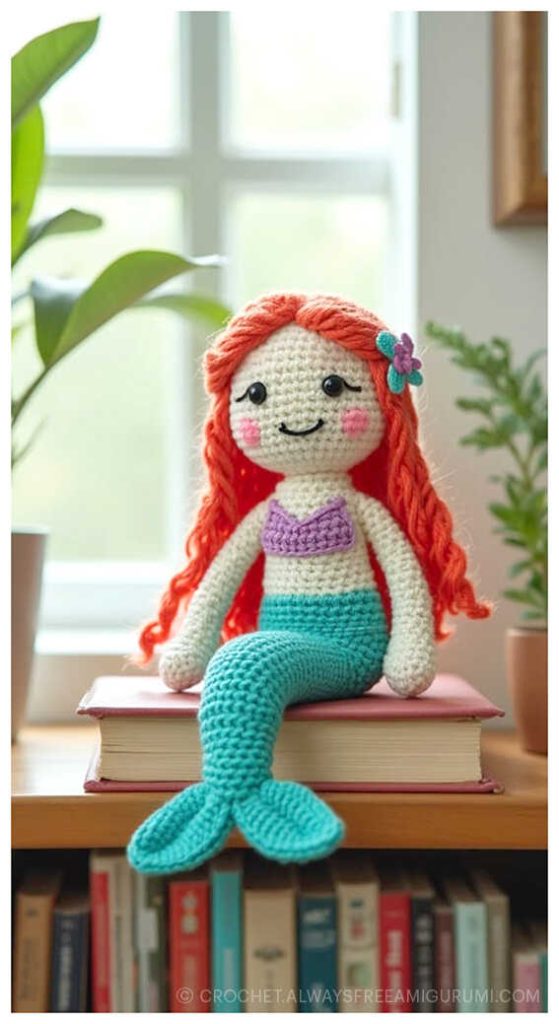
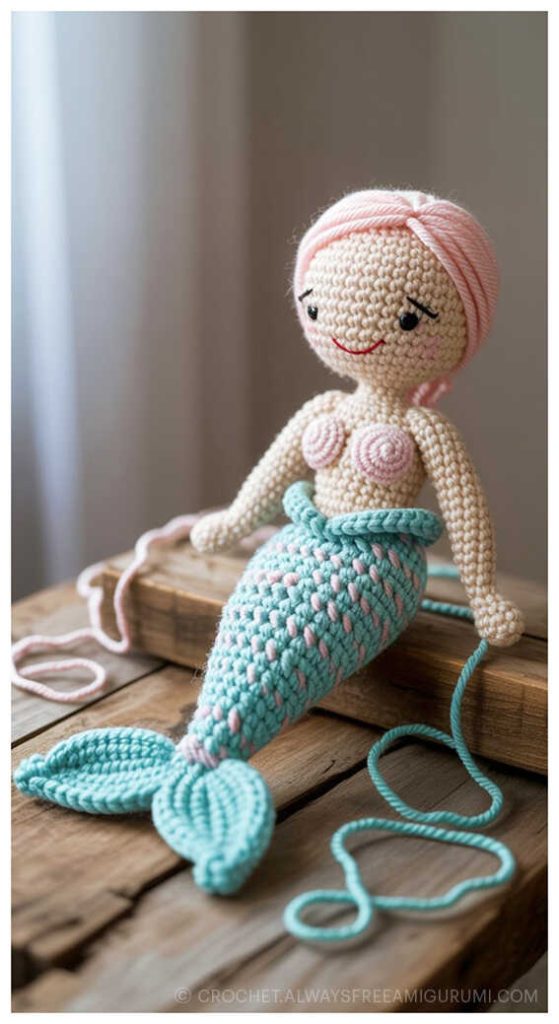
Dive into the magical world of crochet with the Mermaid Marina with Pink Curly Hair Free Amigurumi Pattern, designed by the talented Karol Alvarenga (vocininha.com.br). Standing at around 12 cm tall when made with the recommended materials, this charming mermaid doll is the perfect project for anyone who loves creating whimsical handmade treasures. Using Balloon Amigo yarn in shades of Pink (Fiama), Light Blue (Patina and Piscine), and Brown (Raiz), along with 9 mm safety eyes, stuffing, and a 2.20 mm crochet hook, you can bring this sweet under-the-sea character to life. A touch of blush and embroidered details will add the finishing magic to her expression.
Whether you are crafting this amigurumi mermaid as a gift or as part of your own collection, the detailed step-by-step instructions make the process both fun and rewarding. Don’t forget to gather your tapestry needle, scissors, and a little universal glue before you start—small details make a big difference. Huge thanks to Karol for sharing such a delightful design, and be sure to check out the end of the pattern for more inspiring Amigurumi Mermaid ideas to spark your creativity!
Materials
• Amigurumi yarn (Balloon Amigo) in the colors Pink (Fiama), Light Blue (Patina and Piscine) and Brown (Raiz). A piece of black and white yarn to embroider the eyes;
• Black eyes with safety lock 9 mm;
• 2.20 mm crochet hook;
• Tapestry needle;
• Stuffing;
• Scissors and universal glue;
• Blush (pastel chalk).
INFORMATION
Using the indicated material, your Mermaid will be on average 12 cm tall. Read the entire pattern befare starting! Read the entire pattern before starting!
Abbreviations
MR – Magic ring
st – stitch
ch – chain
slst – slip stitch
sc – single crochet
inc – increase
dec – decrease
hdc – half double crochet
dc – double crochet
AMIGURUMI MERMAID FREE CROCHET PATTERN
Arms (2x)
With brown yarn
Do not stuff!
Round 1. 6 sc in the MR
Round 2-9. 6 sc (6 rows)
Flatten the piece and close with 3 sc, fasten off and hide the yarn.
Body and Head
Use brown yarn
Stuff as you weave
Round 1. 6 sc in MR (6)
Round 2. 6 inc (12)
Round 3. (1 sc, 1 inc) repeat 6 times (18)
Round 4. (2 sc, 1 inc) repeat 6 times (24)
Round 5. (3 sc, 1 inc) repeat 6 times (30)
Round 6. BLO 30 sc (30)
Round 7. (3 sc, 1 dec) repeat 6 times (24)
Round 8-10. 24 sc (3 rows)
Round 11. (2 sc, 1 dec) repeat 6 times (18)
In the next row we will join the arms to the body:
Round 12. 4 sc, 3 sc with one arm, 6 sc, 3 sc with the other arm, 2 sc (18)
Round 13. (1 sc, 1 dec) repeat 6 times (12)
Round 14. 12 inc (24)
Round 15. (3 sc, 1 inc) repeat 6 times (30)
Round 16. (4 sc, 1 inc) repeat 6 times (36)
Round 17. (5 sc, 1 inc) repeat 6 times (42)
Round 18-27. 42 sc (10 rows)
Insert the eyes between rows 21 and 22 with 8 stitches apart (6 stitches visible). Take the opportunity to embroider the details of the eyes in black and white.
With brown thread, embroider the nose between rows 20 and 21.

Round 28. (5 sc, 1 dec) repeat 6 times (36)
Round 29. (4 sc, 1 dec) repeat 6 times (30)
Round 30. (3 sc, 1 dec) repeat 6 times (24)
Round 31. (2 sc, 1 dec) repeat 6 times (18)
Round 32. (1 sc, 1 dec) repeat 6 times (12)
Round 33. 6 dec (6)
Close with reverse mc.
With pink yarn, embroider the eyebrows on row 25.
Tail
With the patina blue yarn, insert the hook into the last free loop of row 5 of the body and make:
Round 1. 30 sl st
Round 2. 30 sc only in the back loops of the sl sts

Round 3. (4 sc, 1 inc) repeat 6 times (36)
Round 4. 36 sc
Round 5. (3 sc, 1 dec) repeat 4 times, 5 sc, 2 dec, 7 sc (30)
Round 6. 30 sc
Round 7. (2 sc, 1 dec) repeat 4 times, 5 sc, 2 dec, 5 sc (24)

Round 8. 24 sc
Round 9. 5 sc, 1 dec, 17 sc (23)
Round 10. 5 sc, 1 dec, 16 sc (22)
Round 11. 5 sc, 1 dec, 15 sc (21)
Round 12. (5 sc, 1 dec) repeat 3 times (18)
Round 13. 18 sc
Round 14. 1 sc, 1 dec x 6 (12)
Round 15. 12 sc
Round 16. 6 dec (6)

Make 2 more sc to align the finish, flatten the piece and close with 3 sc. Do not fasten off, let’s make the fin:
Cross 3 ch, 1 picot stitch of 2, in the same base stitch make 1 dc, 1 hdc. In the next stitch make 1 sl st. In the next stitch make together 1 hdc, 1 dc, 1 picot stitch of 2, 3 ch and 1 sl st in the base stitch to finish. Fasten off and hide the thread.

Top
Use the patina blue yarn
Make 9 ch and return, in the fourth ch and make: 3 dc together, 1 hdc, 1 sl st, 1 hdc, 3 dc together, 3 ch and finish with 1 sl st. Fasten off and leave a thread to sew in case you don’t want to glue. Glue two rows above the beginning of the tail.

Hair
Use pink yarn
Round 1. 6 sc in the MR (6)
Round 2. 6 inc (12)
Round 3. (1 sc, 1 inc) repeat 6 times (18)
Round 4. (2 sc, 1 inc) repeat 6 times (24)
Round 5. (3 sc, 1 inc) repeat 6 times (30)
Round 6. 30 sc
We will make all the strands using hdc. So pay attention!

Strands 1-4
Chain 26 ch, return from the second ch from the hook and make 5 inc, 20 hdc, skip a base stitch and make 1 sl st. Repeat 3 more times to complete the 4 strands.
Strands 5-15
Chain 31 ch, return from the second ch from the hook and make (1 hdc, 1 inc) repeat 7 times, 16 hdc, skip a base stitch and make 1 sl st. Repeat 10 more times to complete the 11 strands.
Hair Assembling
With the help of pins, glue and lots of creativity, create a beautiful hairstyle for your mermaid. Let’s see in the photos how to start positioning the strands.
Center the middle of the hair in the middle of the head so that the first strands, which are a little smaller, are in the front of the head. Find the middle strand at the back and start securing it with glue, starting from there, one by one. When you finish the back strands, divide the front strands 3 to the left and 1 to the right and glue them in the position you want.

Hair star
With aquamarine blue yarn
In the magic ring, go up 4 ch and back, starting from the second ch from the hook and make 3 slst and 1 slst inside the magic ring. Repeat for another 4 times until you have 5 ends. Close the magic ring and finish with a knot at the back. Leave a thread to sew in case you don’t want to glue it.

Glue the little star to the front part of the strands.
Apply blush to the cheeks and above the nose and your Mermaid Marina is ready!
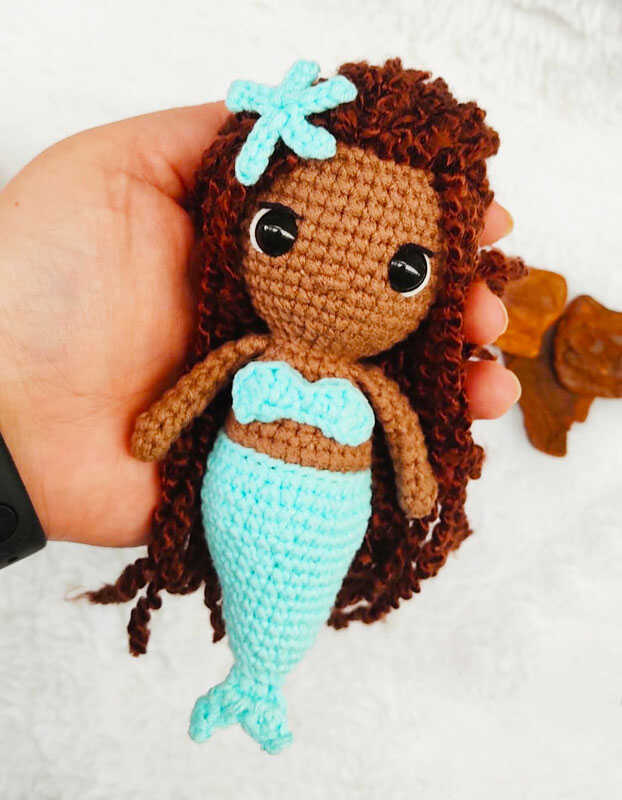
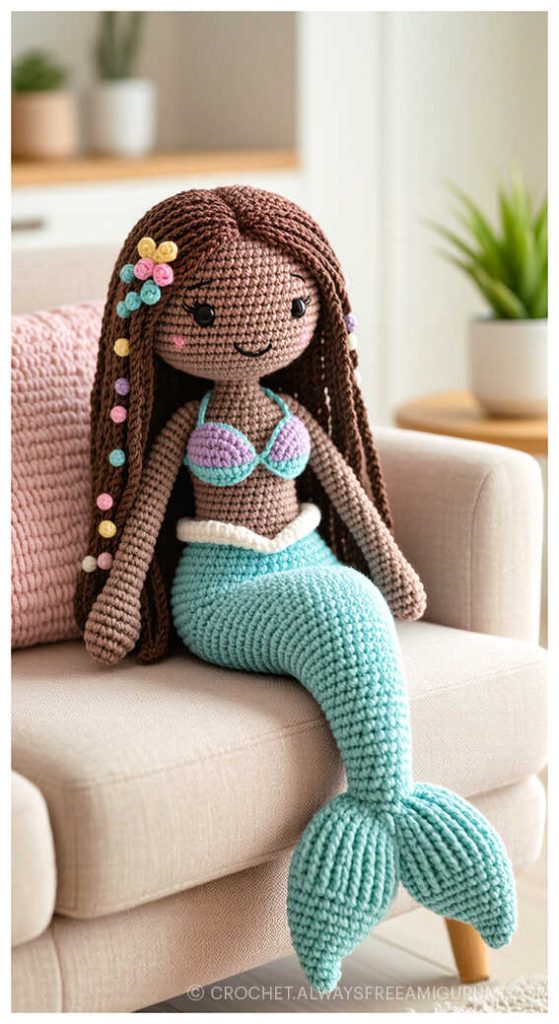
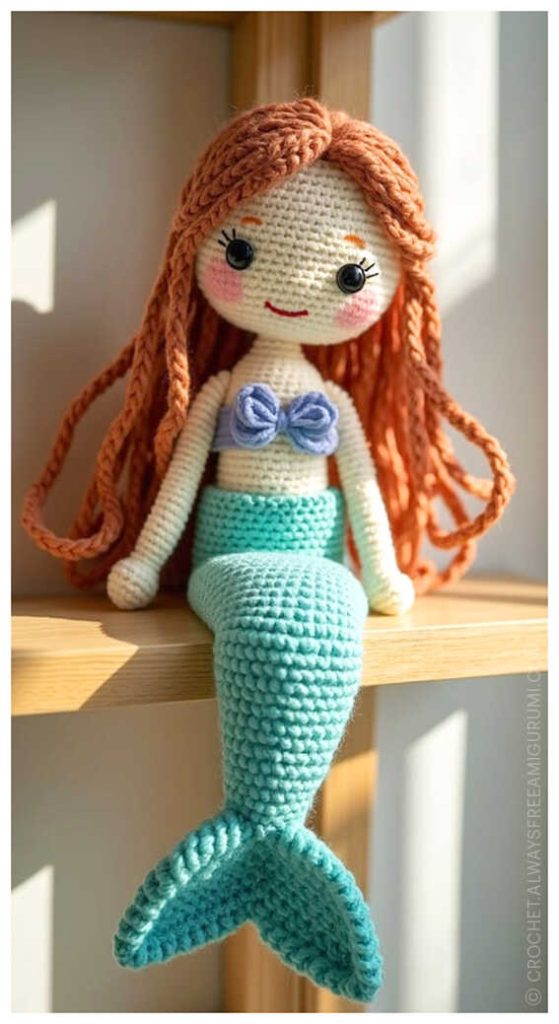
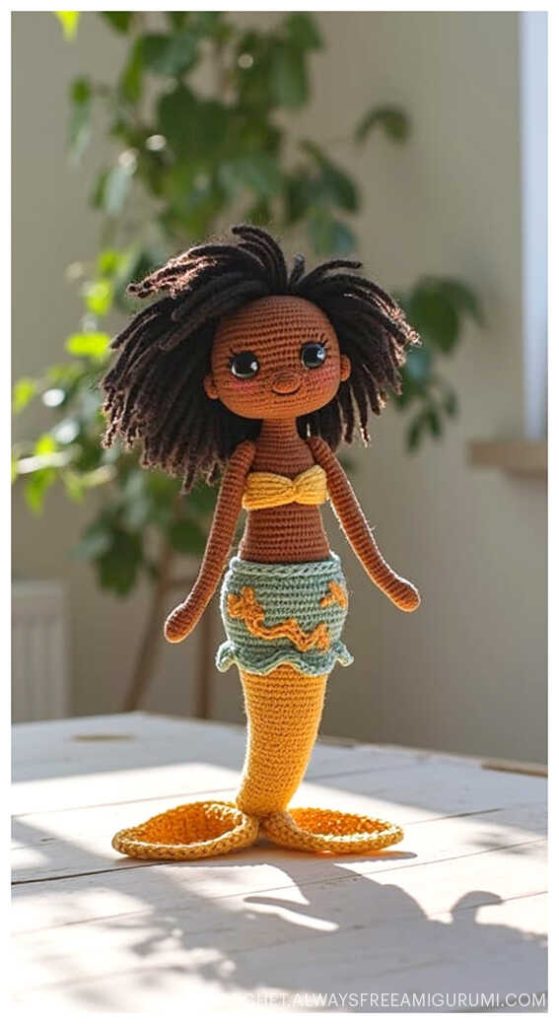
Crochet mermaid ideas you’ll love

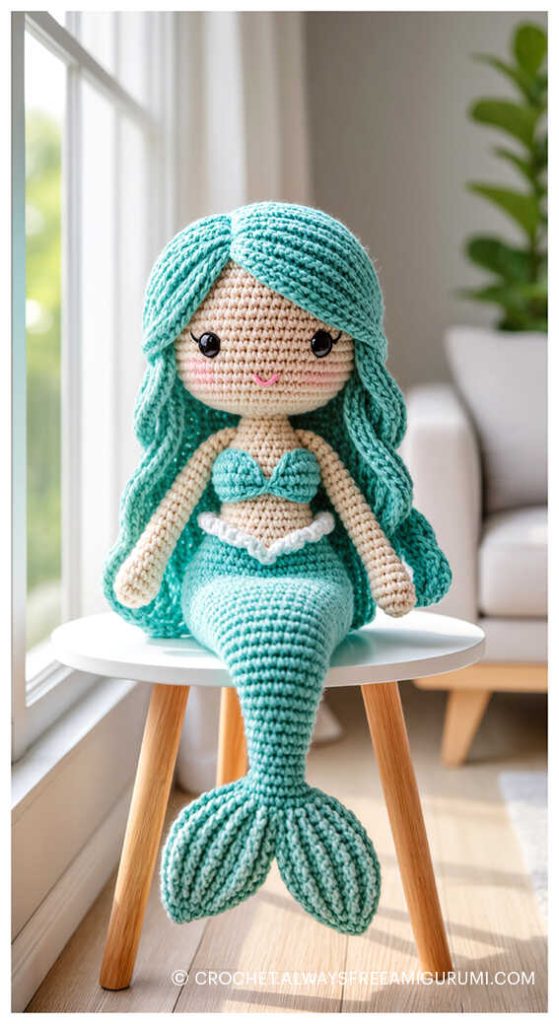
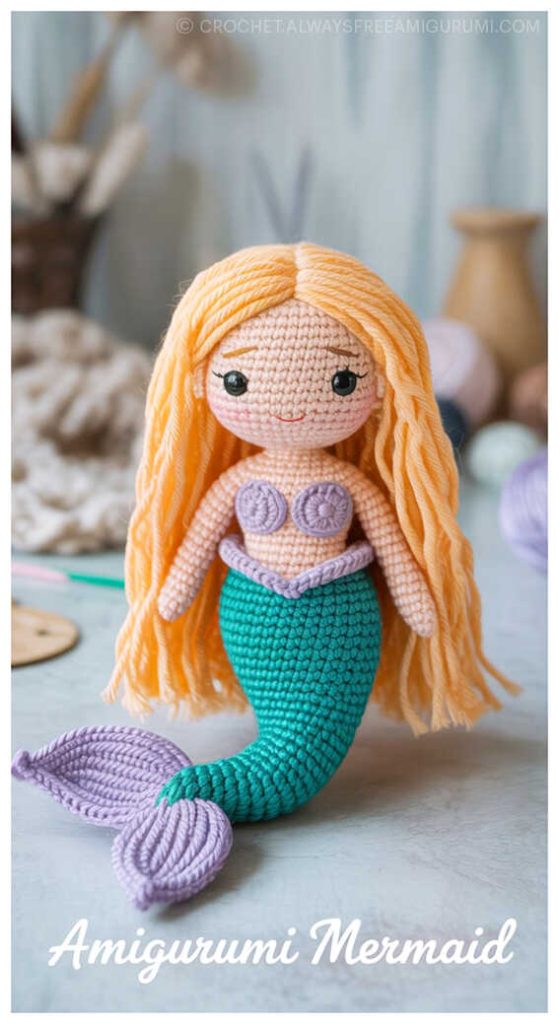
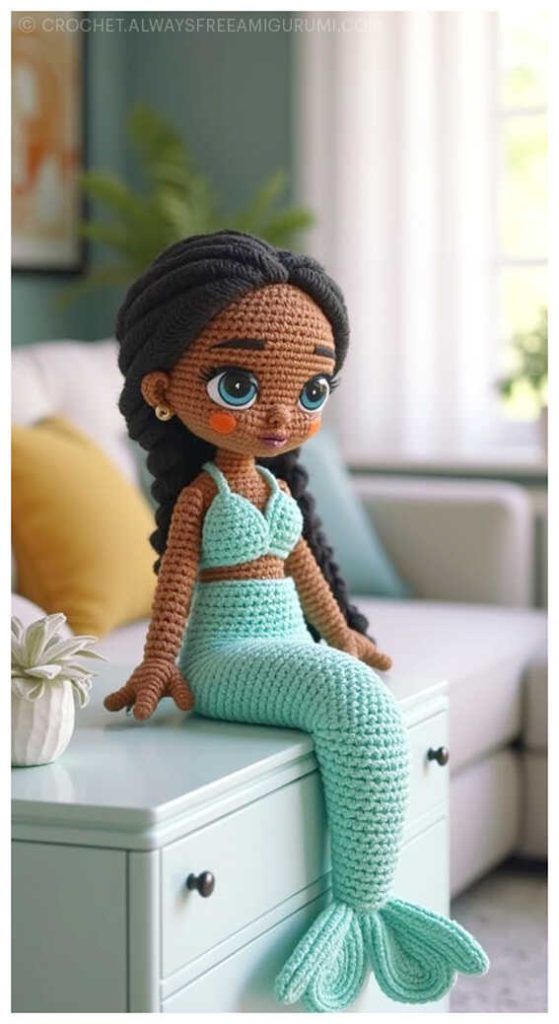
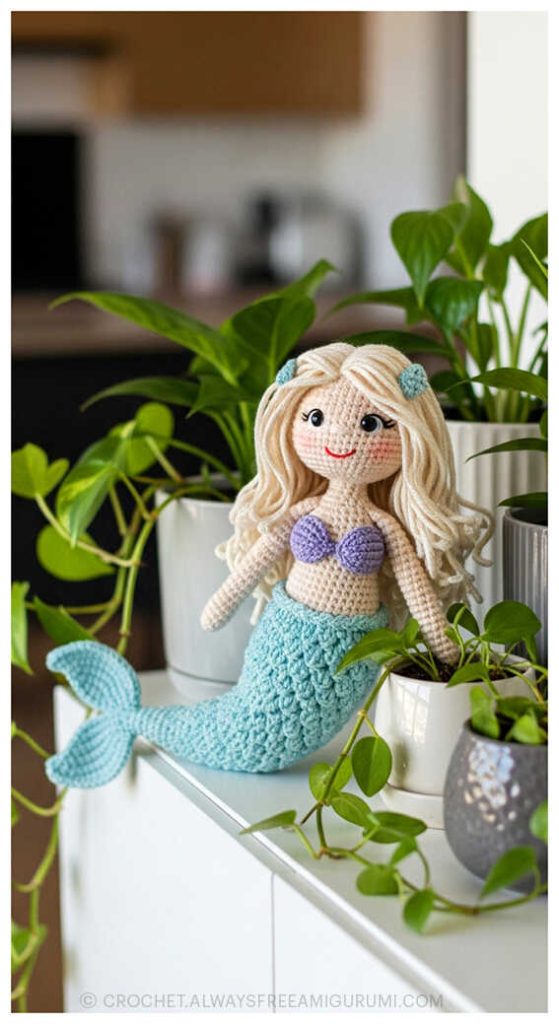
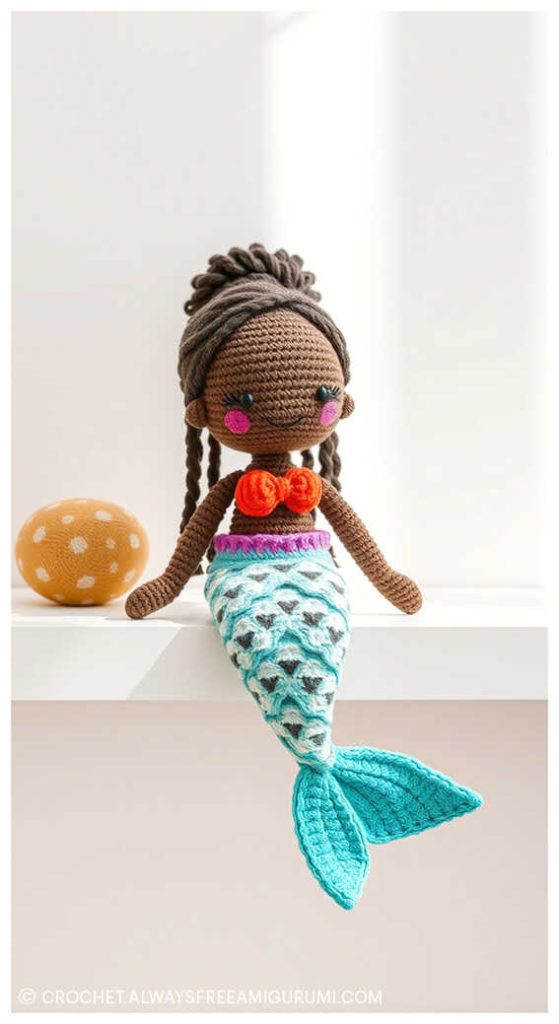
Crochet Magic: Bring Every Amigurumi Animal to Life
From playful amigurumi cats, dogs, and bunnies to enchanting amigurumi unicorns, amigurumi elephants, and amigurumi giraffes, our patterns let you create a world full of handmade charm. You’ll also find delightful amigurumi bears, amigurumi foxes, amigurumi pandas, amigurumi monkeys, amigurumi lambs, amigurumi pigs, amigurumi birds, amigurumi penguins, amigurumi llamas, amigurumi hippos, amigurumi dinosaurs, plus whimsical amigurumi dolls and amigurumi clowns. Each project is a chance to craft joy, learn new stitches, and share your creativity with loved ones. For endless inspiration and even more free amigurumi patterns, don’t forget to follow our Facebook page Always Free Amigurumi and join our friendly crochet community in the Facebook group to keep your crochet adventure going!
Keywords: free amigurumi patterns, crochet toys, amigurumi animals, beginner amigurumi, amigurumi dolls, crochet free patterns, crochet patterns, easy crochet