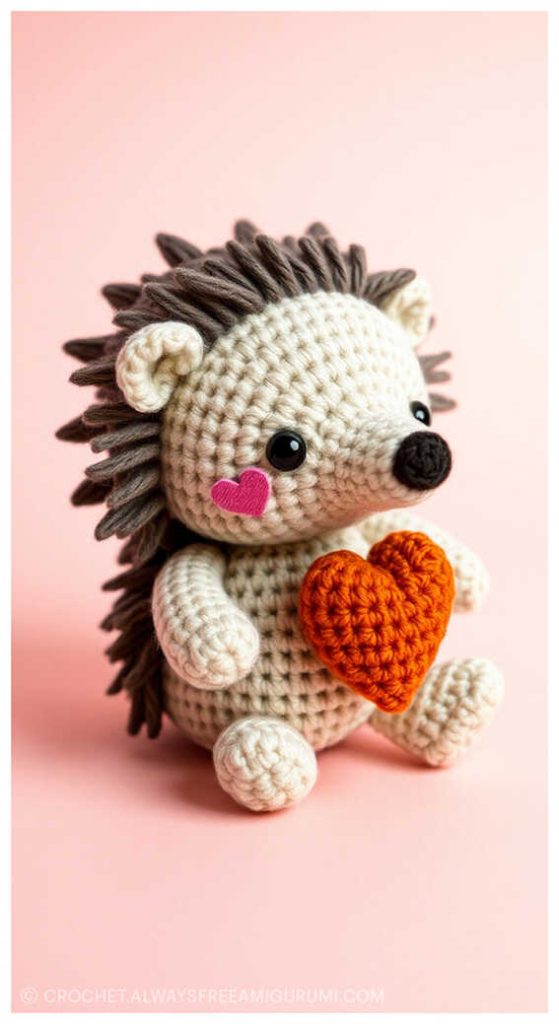
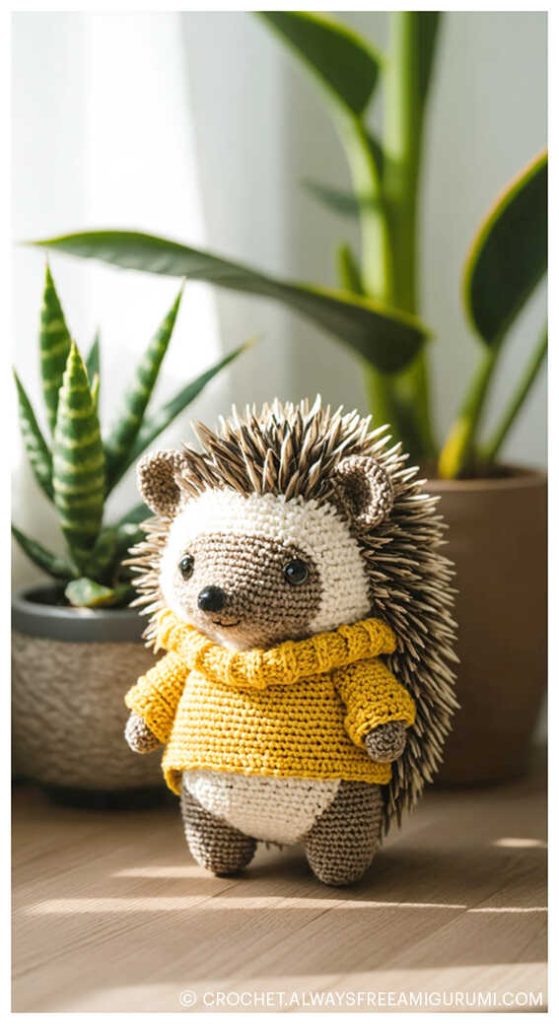
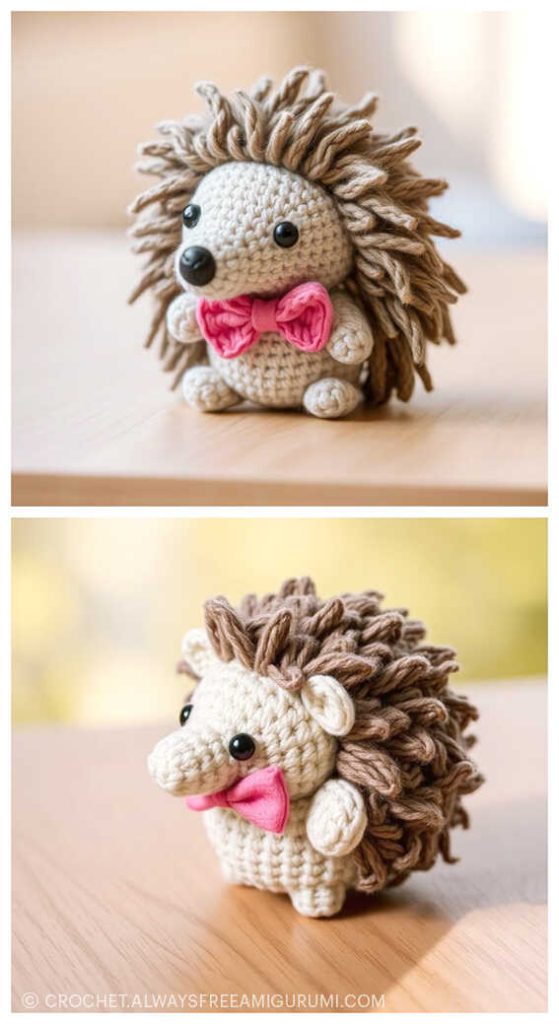
Lucky the Hedgehog Free Crochet Amigurumi Pattern
Designer: Irina Belousova
Instagram: @crochet_by_belousova
Store: crochet_by_belousova
Hi there, amigurumi fans!..
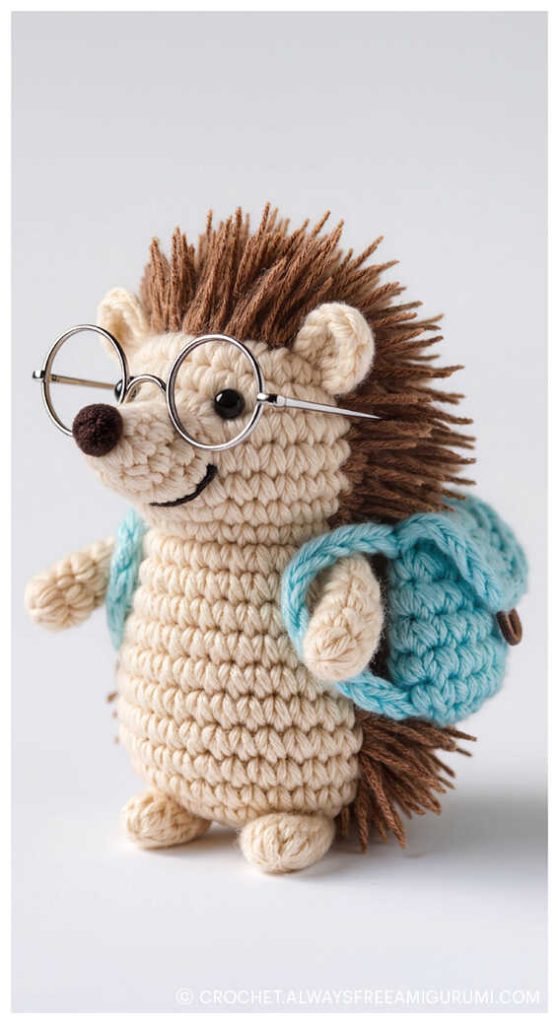
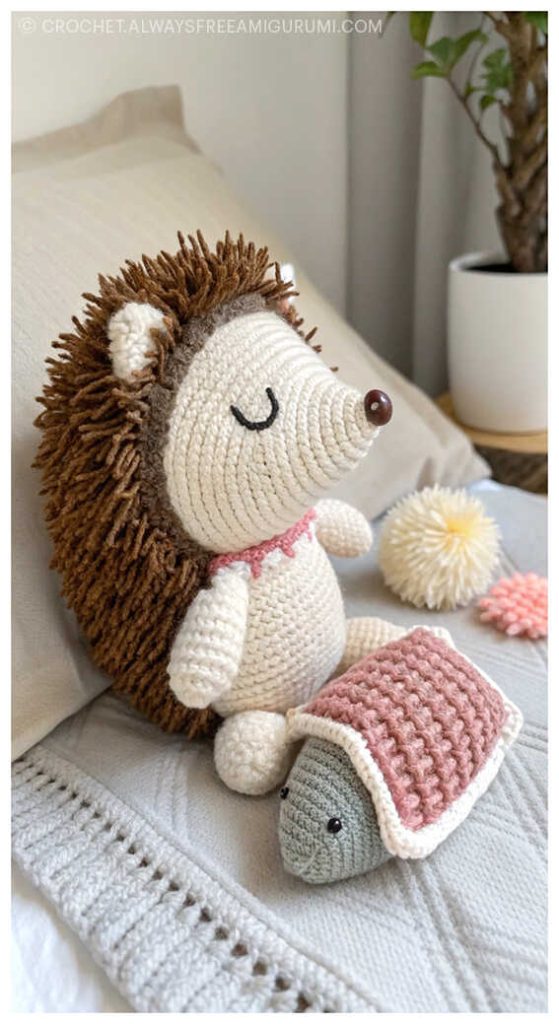
Lucky the Hedgehog Free Crochet Amigurumi Pattern by talented designer Irina Belousova is a delightful and detailed project for crochet lovers of all levels. This step-by-step, beginner-friendly pattern allows you to create your very own soft and cuddly hedgehog, standing at about 9.84 inches tall when finished. Crafted using high-quality materials such as YarnArt Jeans yarn in shades of gray (No. 75), graphite (No. 28), white (No. 01), and pink (No. 74), along with Camtex Cotton Grass yarn (No. 169) for the needles, this charming hedgehog comes to life with realistic details like tiny eye beads (0.24 inch) and a cute nose (0.35 inch).
Filled with holofiber stuffing for a perfectly plush feel, Lucky the Hedgehog makes an adorable handmade gift or a sweet addition to your amigurumi collection. With clear instructions and helpful guidance from Irina, even beginners can enjoy crocheting this adorable forest friend using just a 1.75 mm crochet hook, some patience, and love. At the end of this free pattern, you’ll also discover more amazing amigurumi hedgehog ideas to inspire your next crochet adventure.
Necessary materials and tools:
1. Yarn.
When knitting, I used YarnArt Jeans.
Colors: N 75 – gray, N 28 – graphite, N 01 – white, N 74 – pink.
Red yarn – 100% cotton
Yarn for needles – Camtex Cotton Grass N 169
2. Hook N 1.75
3. Filler – holofiber
4. Eye beads with a diameter of 0,24 inch
5. Nose 0.35 inch
6. Basting needles
7. Needle for stitching
8. Scissors
The size of the finished toy using these materials is about 9,84 inch
Abbreviations
MR – Amigurumi Magic ring
ll – lift loop
sc : Single Crochet
inc : Increase
dec : Decrease
tr : Triple Crochet/ Treble Crochet
st: Stitch
dc : Double Crochet
hdc: Half Double Crochet
sl-st : Slip Stitch
ch : Chain
..in : make increase into same stitch as many as the number which is given in front of “inc” abbreviation (exp; 3inc, 4inc..).
FLO : Crochet into front loops only
BLO : Crochet into back loops only
BL : Bobble Stitch – do 5dc all in the same stitch and then yarn over and pull through all the loops on your hook (the original loop + 1 loop for each partially completed dc).
AMIGURUMI HEDGEHOG FREE PATTERN
Head
Use gray yarn.
1.) 6 sc in MR (6)
2.) 6 inc (6)
3.) (1 sc , inc)*3 (9)
4.) 9 sc (9)
5.) (2 sc, inc)*3 (12)
6.) 12 sc (12)
7.) (3 sc, inc)*3 (15)
8.) 15 sc (15)
9.) (inc, 2 sc)*5 (20)
10.) 20 sc (20)
11.) (3 sc, inc)*5 (25)
12.) 25 sc (25)
13.) (inc, sc)*3, hdc, 8 inc hdc, (sc, inc)*4, 2 sc (40)
14.) 12 sc, hdc, (inc hdc, hdc)*7, 13 sc (47)
15.) 8 sc, hdc, (6 sc, inc)*4, 10 sc (52)
16.) 21 sc, inc, 6 sc, inc, 23 sc (54)
17.)- 21.) 54 (54, 5 rows)
22.) 14 sc, dec, 25 sc, dec, 11 sc (52)
23.) (11 sc, dec)*4 (48)
24.) 4 sc, dec, (10 sc, dec)*3, 6 sc (44)
25.) (9 sc, dec)*4 (40)
26.) 3 sc, dec, (8 sc, dec)*3, 5 sc (36)
27.) (7 sc, dec)*4 (32)
28.) 2 sc, dec, (6 sc, dec)*3,. 4 sc (28)
29.) (5 sc, dec)*4 (24)
30.) ( sc, dec)*6 (18)
31.) (sc, dec)*6 (12)
Next, we knit 2 dec, sl st, leave the thread in order to tighten the hole (detail at the end crochet pattern).
You may also like Amigurumi Beaver Free Pattern
Ears (make 2)
Use gray yarn.
1.) 6 in MR, 2 ch, turn (6)
2.) 1 hdc to the base of the lifting loops, 5 inc of hdc, 2 ch, turn (12)
3.) 1 hdc to the base of the lifting loops, (inc of hdc)*11 (24)
Fold the eye and knit together.
Hedgehog’s Needles
We knit fluffy yarn.
1.) 6 in MR (6)
2.) 6 inc (12)
3.) (1, inc)*6 (18)
4.) 1 sc, inc, (2, inc)*5, 1 sc (24)
5.) (3, inc)*6 (30)
6.) 2 sc, inc, (4 sc, inc)*5, 2 sc (36)
7.) (5 sc, inc)*6 (42
8.) 3 sc, inc, (6 sc, inc)*5, 3 sc (48)
9.) (7 sc, inc)*6 (54)
10.) – 17.) 54 (54, 8 rows)
18.) (dec, 11 sc)*4, dec, slst (49)
Cheeks (make 2)
Use gray yarn.
6 sc in MR (6)
Legs (make 2)
We start knitting with white yarn.
1.) 6 sc in MR (6)
2.) 6 inc (12)
3.) (1 sc, inc)*6 (18)
4.) 1 sc, inc, (2 sc, inc)*5, 1 sc (24)
Change the color to red.
5.) (3 sc, inc)*6 scbl (30)
6.) 12 sc, dec, dec, dec, 12 sc (27)
7.) 27 sc
8.) 9 sc, dec, dec, 1 sc, dec, dec, 9 sc (23)
9.) 10 sc, deс of three loops, 10 sc (21)
10.) 9 sc, dec of three loops, 9 sc (19)
11.) 4 sc, dec, 8 sc, dec, 1 sc, dec (16)
12.) – 15.) 16 sc (16, 4 rows)
Change the color to graphite.
We start to knit overalls 2 * 2 (2 black strip * 2 – white). Further, when knitting, the place for changing the color of the thread will be located on the back side details (legs, backs and handles), regardless from the beginning of the row at your discretion.
16.) – 20.) 16 sc (16, 5 row)
To the first leg add 7 sc.,cut the thread.
We knit the second leg in the same way and add 15 sc.,
Do not cut the thread, continue to knit.
We gain 3 ch
Knit: 16 sc on the first leg,
3 sc along the chain of ch,
16 sc – on the second,
3 sc along the chain of ch
As a result, we should get 38 loops in a row.
We put a marker (we mark the beginning of the next row), continue to knit.
Do not forget about the jumpsuit (2 * 2 stripes).
How to connect the legs and begin to knit the body.
21.) 38 sc. (38)
22.) 8 sc, (inc, 9 sc)*2, inc, 8 sc, inc (42)
23.) 42 sc (42)
24.) (9 sc, inc)*3, 10 sc, inc, 1 sc (46)
25.) 26 sc (26)
26.) 5 sc, inc, 32 sc, inc, 5 sc, inc, 1 sc (49)
27.) – 35.) 49 sc (49, 8 rows)
36.) 6 sc, dec, 34 sc, dec, 3 sc, dec (46)
37.) 46 sc (36)
38.) dec, 8 sc, dec, 11 sc, dec, 8 sc, dec, 11 sc (42)
39.) 42 sc (42)
40.) (dec, 12 sc)*3 (39)
41.) 39 sc (39)
42.)6 sc, dec, (11 sc, dec)*2, 5 sc (36)
43.) 36 sc (36)
44.) (10 sc, dec)*3 (33)
45.) 33 sc (33)
46.) (9 sc, dec)*3 (30)
47.) 30 sc (30)
48.) (3 sc, dec)*6 (24)
49.) 24 sc, dec (24)
Right Hand
1.) 6 sc in MR (6)
2.) 6 inc (12)
3.) – 8.) 12 sc (12, 6 rows)
Change the color of yarn to graphite.
We start to knit overalls 2 * 2
(2 black strips * 2 – white).
9.) dec, dec, 8 sc (10)
10.) – 24.) 10 sc (10, 15 rows)
In addition, we knit 2 sc, fold the handle in half, knit together 5 sc.
Left Hand
1.) 6 sc in MR (6)
2.) 6 inc (12)
3.) – 8.) 12 sc (12, 6 rows)
9.) dec, dec, 1 sc, change the color of yarn to graphite
(then we knit 2 black * 2 white stripes), 7 sc (10)
10.) – 24.) 10 sc (10, 15 rows)
In addition, we knit 2 sc, fold the handle in half, knit together 5 sc.
Scarf
We collect 80 ch, 2 lifting loops, then we knit 80 dc.
Design and assembly
1.) Insert / glue the nose on the 1st row of the head (MR).
2.) We glue the eyes on the 13th row of the head at a distance of 12 hdc between them. We make eye tightening, draw the lower eyelid with white thread.
3.) Eyebrows are located between the 14/15 and 15/16 rows of the head.
4.) A smile is between 9 and 10 rows.
5.) We place the cheeks on the 14th and 15th rows.
6.) Needles are located from the 28th to the 19th row of the head.
7.) Ears are placed on the sides at your discretion.
8.) Sew the head to the body.
9.) Sew handles to the body.
10.) Tie a scarf.
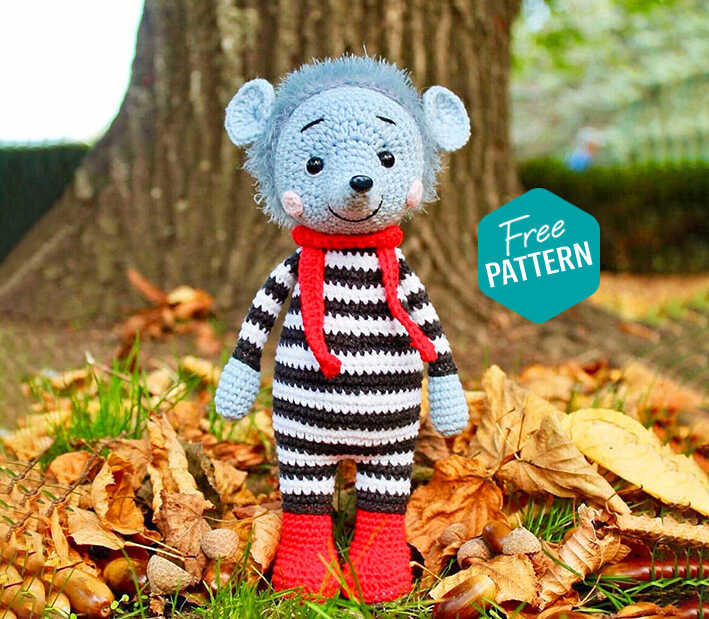
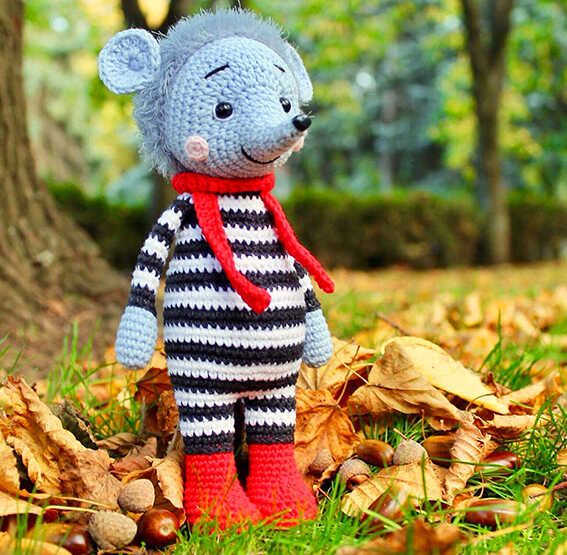
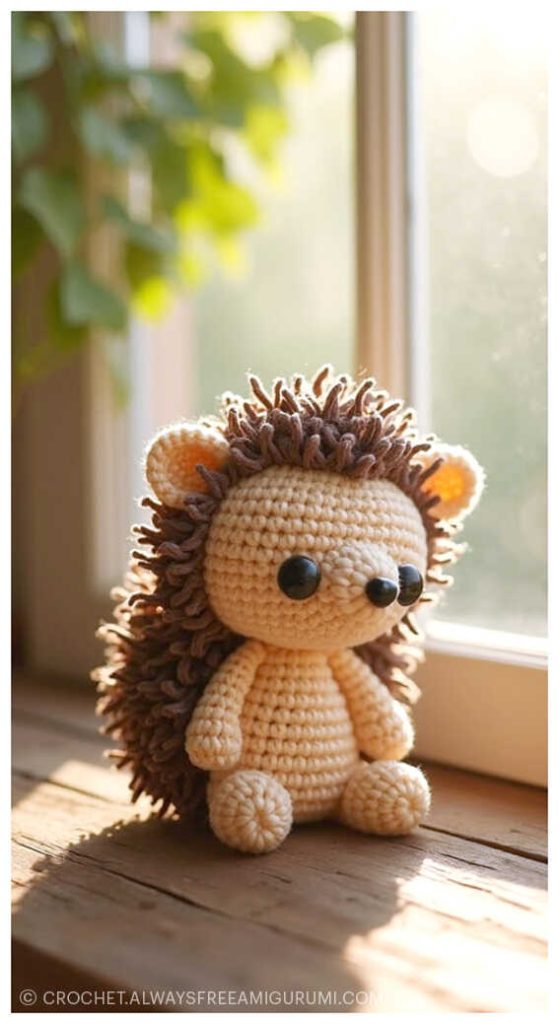
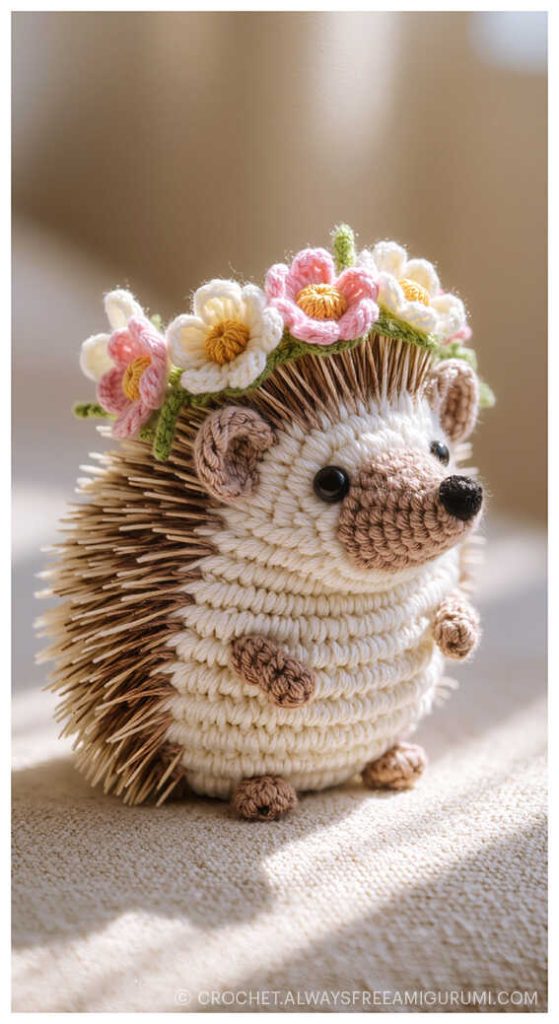
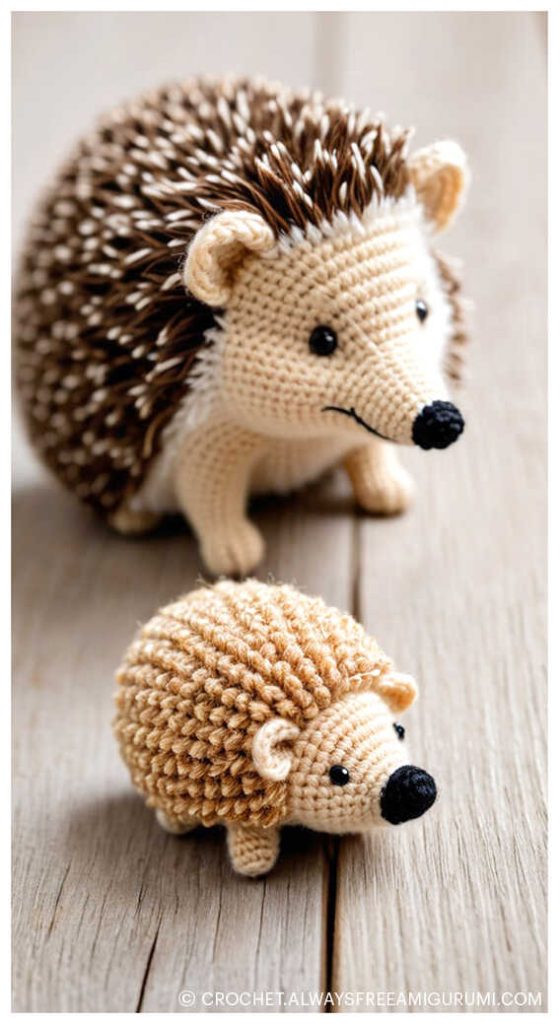
Trendy amigurumi hedgehog ideas for all:

Crochet Magic: Bring Every Amigurumi Animal to Life
From playful amigurumi cats, dogs, and bunnies to enchanting amigurumi unicorns, amigurumi elephants, and amigurumi giraffes, our patterns let you create a world full of handmade charm. You’ll also find delightful amigurumi bears, amigurumi foxes, amigurumi pandas, amigurumi monkeys, amigurumi lambs, amigurumi pigs, amigurumi birds, amigurumi penguins, amigurumi llamas, amigurumi hippos, amigurumi dinosaurs, plus whimsical amigurumi dolls and amigurumi clowns. Each project is a chance to craft joy, learn new stitches, and share your creativity with loved ones. For endless inspiration and even more free amigurumi patterns, don’t forget to follow our Facebook page Always Free Amigurumi and join our friendly crochet community in the Facebook group to keep your crochet adventure going!
Keywords: free amigurumi patterns, crochet toys, amigurumi animals, beginner amigurumi, amigurumi dolls, crochet free patterns, crochet patterns, easy crochet