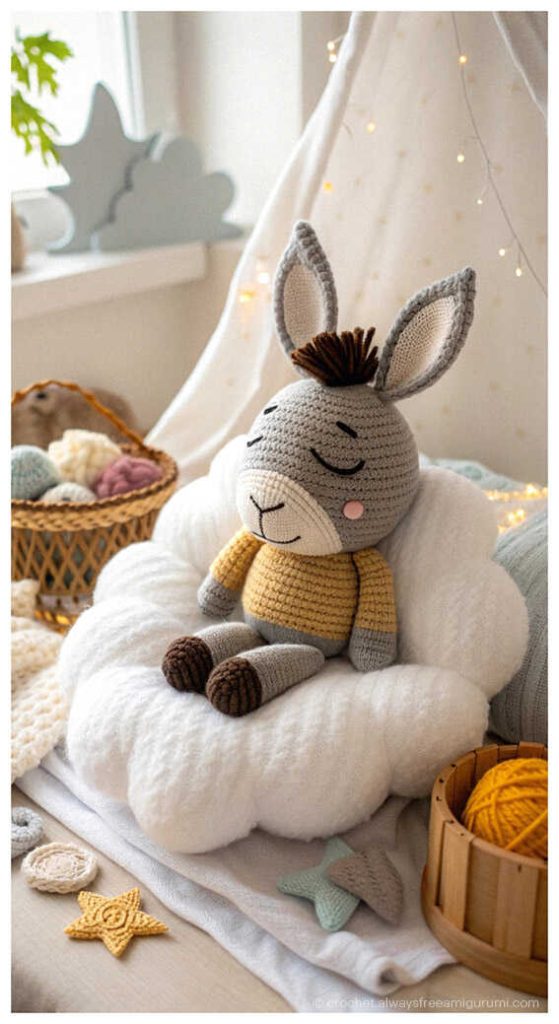
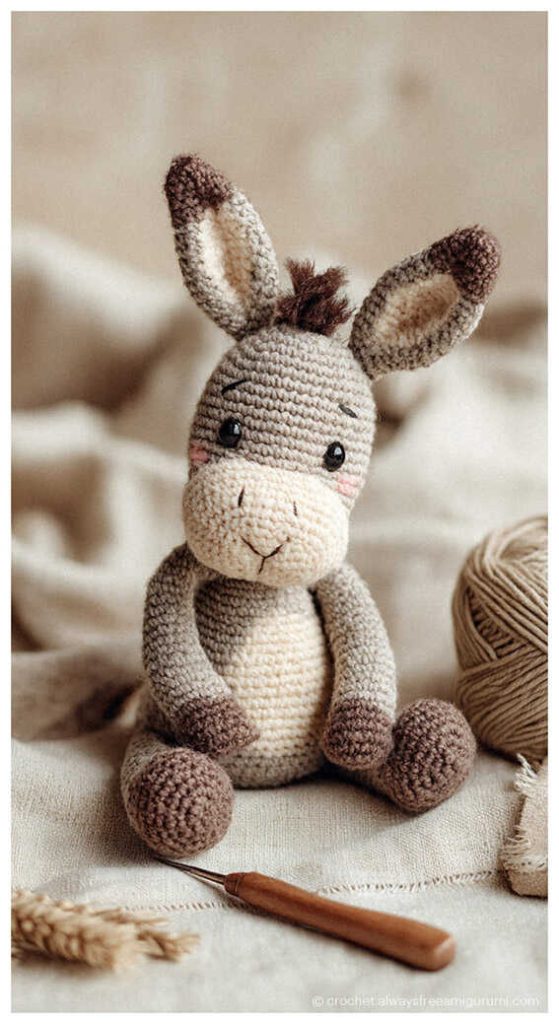
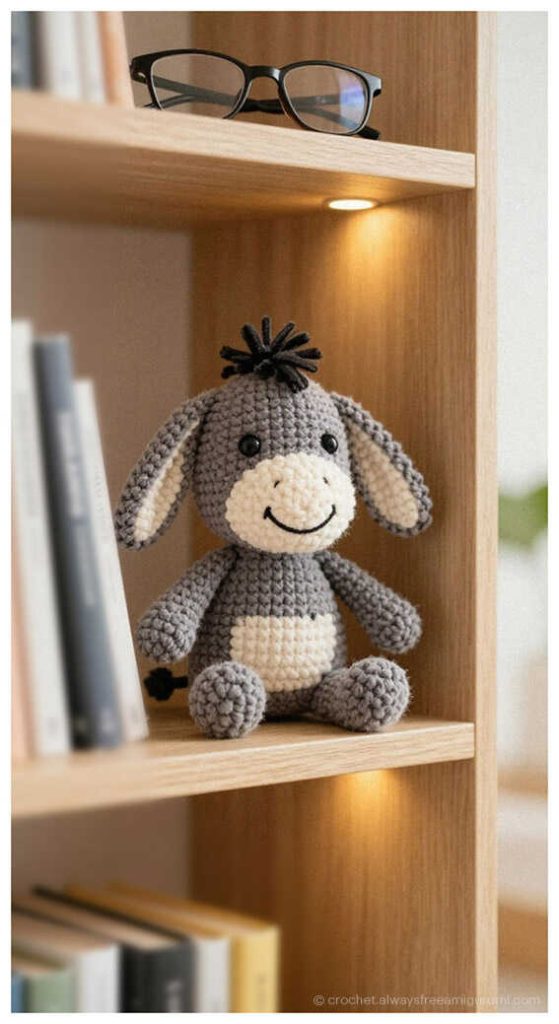
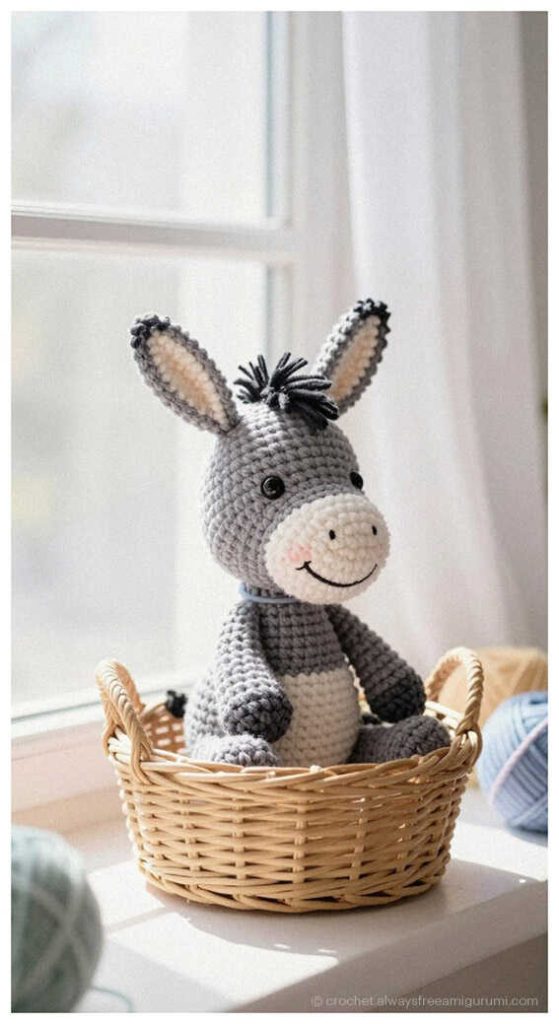
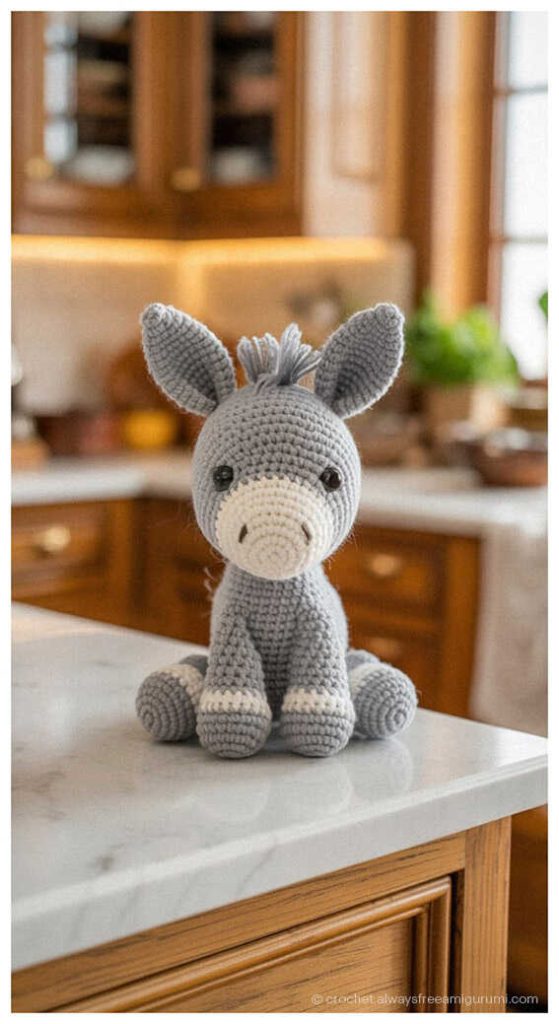
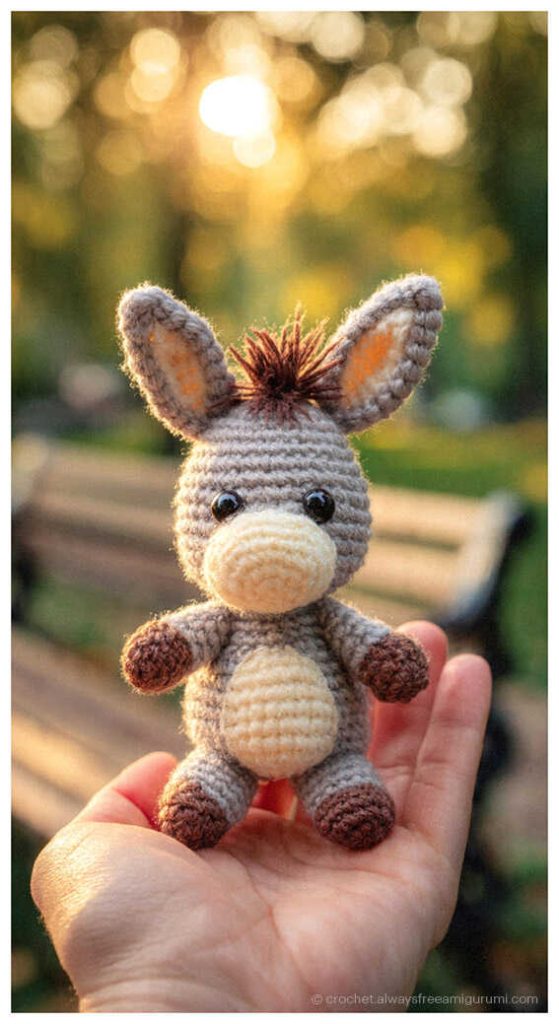
Best Easy Crochet Donkey Free Pattern Full Guide
Designer: Natalya Larina
VK: @Natalya Larina
Let’s turn a ball of yarn into something irresistibly cute today…
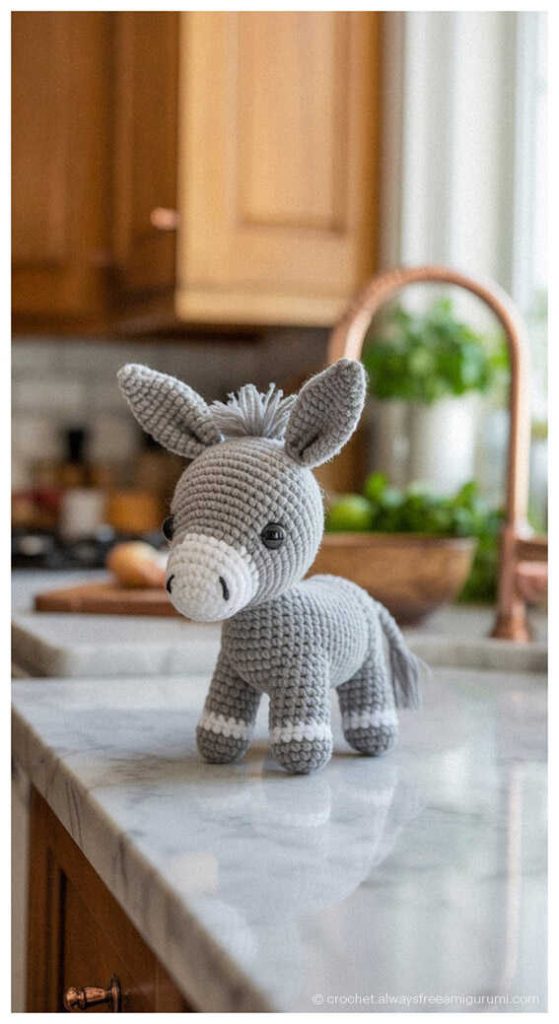
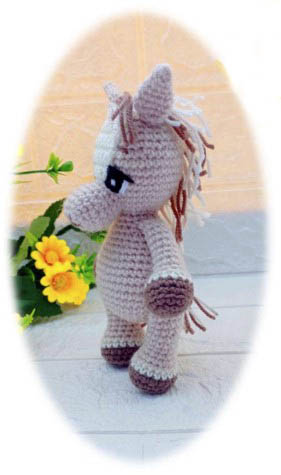
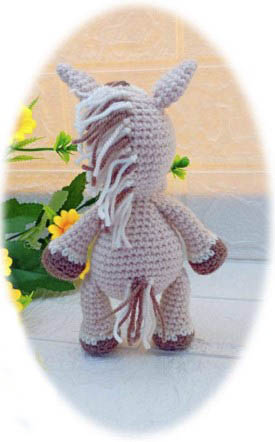
This charming donkey companion is the ultimate inspiration for your next DIY Crochet Gift Ideas, bringing a rustic and heartwarming touch to any handmade toy collection. This project is a standout among Easy Crochet Projects, specifically designed as a Low Sew Amigurumi Pattern to minimize assembly while ensuring a sturdy and professional finish. Master the art of plush toy making with this streamlined and efficient technique. We are incredibly grateful to the talented designer, Natalya Larina, for sharing this lovely Free Pattern with us. At the end of this post, you will also discover a gallery of stunning amigurumi donkey ideas to spark your creativity. If you have been searching for a straightforward way to create a soulful farm animal that is both expressive and simple to stitch, this guide is the perfect place to start.
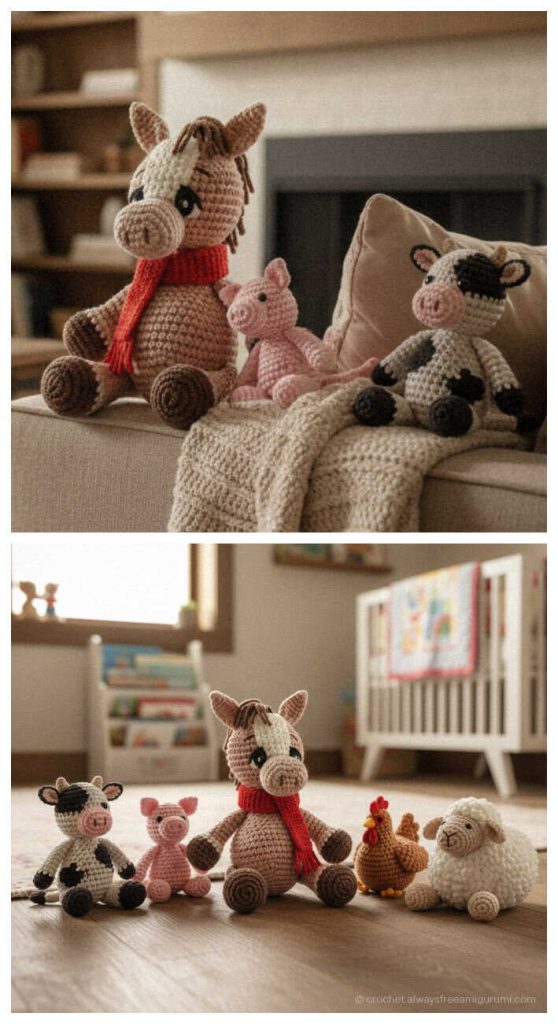
This Beginner amigurumi donkey pattern is perfect for those learning how to crochet amigurumi without getting overwhelmed by complex limb attachments. It serves as a Quick to Make Amigurumi, making it an ideal choice for birthday surprises or stocking your craft fair booth with high-demand items. While this specific design is crafted with Cotton Yarn for a classic, defined look, it translates beautifully into a jumbo snuggle buddy if you switch to Velvet Yarn. Keep in mind that using a plush velvet will result in a much larger and extra-huggable donkey! You can also check out the Amigurumi Cow Free Pattern to explore other adorable farm animals that would complement your new donkey friend.
To bring this donkey to life, you will need a 2.0mm crochet hook and amigurumi yarn in your preferred shades of grey and white. The process involves using 7mm safety eyes, a tapestry needle, and premium stuffing to give your toy the perfect shape and weight. For the mane and facial expressions, utilizing delicate embroidery thread rather than thick yarn allows for much more refined details. By following this step by step tutorial, you will master the use of pins and scissors to align the ears and muzzle with precision. Don’t forget to visit the Amigurumi Bear Free Pattern for more beginner friendly tips on creating classic plush toys. Scroll down and let’s start stitching!
Abbreviations
MR – Amigurumi Magic ring
3in1 – crochet 3 columns in one loop
sc : Single Crochet
inc : Increase
dec : Decrease
tr : Triple Crochet/ Treble Crochet
st: Stitch
dc : Double Crochet
hdc: Half Double Crochet
sl-st or Slst: Slip Stitch
ch : Chain
tch: Turnin chain crochet
..in : make increase into same stitch as many as the number which is given in front of “inc” abbreviation (exp; 3inc, 4inc..).
FLO : Crochet into front loops only
BLO : Crochet into back loops only
FREE CROCHET DONKEY PATTERN STEP BY STEP TUTORIAL
Legs
We start crocheting with brown yarn
1 Rnd: 6 sc in MR (6)
2 Rnd: 6 inc. (12)
3 Rnd: (1 sc., inc.)*6 (18)
We form a hoof
4 Rnd: BLO 18 sc . (18)
5 Rnd: 18 sc. (18)
Change the yarn to milk yarn
6 Rnd: 18 sc. (18)
Change the yarn to St. brown yarn (body color)
7 Rnd: 18 sc. (18)
8 Rnd: (4 sc., dec.)*3 (15)
9 Rnd: (3 sc., dec.)*3 (12)
10-16 Rnd: without change
12 sc. 7 rnds (12)
Cut the yarn and hide. Fill the part with filler.
Arms
We start crocheting with brown yarn
1 Rnd: 6 sc in MR (6)
2 Rnd: 6 inc. (12)
3 Rnd: (3 sc., inc.)*3 (15)
4 Rnd: we form a hoof, BLO 15 sc. (15)
5Rnd: 15 sc. (15)
Change the yarn to milk yarn
6 Rnd: 15 sc. (15)
Change the yarn to St. brown yarn (body color)
7 Rnd: BLO (3 sc., dec.)*3 (12)
8 Rnd: (2 sc., dec.)*3 (9)
9-13 Rnd: without change 9 sc. 5 rnds (9)
14 Rnd: dec. 7 sc (8)
15-16 Rnd: without change 8 sc. 2 rnds (8)
Cut the yarn and hide. Stuff detail.
Muzzle
We crochet with st. brown yarn (body color)
1 Rnd: Ch 5, in the 2nd loop from the hook inc., 2 sc., 4 sc. in 1st loop, 2 sc., inc. (12)
2 Rnd: 2 inc., 2 sc., 4 inc., 2 sc., inc.(20)
3-6 Rnd: without change 20 sc. 4 rnds (20)
7 Rnd: 1 sc., dec., 8 sc., dec., 7 sc. (18)
8 Rnd: 18 sc.(18)
Next, we move on to crocheting the bridge of the nose, change the color of the yarn to milky and crochet in turning rows
9 Rnd: 5 sc.,slst, expand
10-20 Rnd: without changes: turning, 6 sc. (6)
21 Rnd: dec., 2 sc., dec. (4)
22 Rnd: 2 dec. (2)
Cut the yarn, leaving the end for sewing. Fill the muzzle with filler.
We sew it between 23 and 25 (26) rows
Ears
1 Rnd: 6 sc in MR (6)
2 Rnd: 6 sc. (6)
3 Rnd: (1 sc., inc.)*3 (9)
4 Rnd: (2 sc., inc.)*3 (12)
5-7 Rnd: without change 12 sc. 3 rnds. (12)
8 Rnd: 6 dec. (6)
Cut the yarn, leaving the end for sewing.
Fold in half and sew to the head in this position.
Body
1 Rnd: 6 sc in MR (6)
2 Rnd: 6 inc. (12)
3 Rnd: (1 sc., inc.)*6 (18)
4 Rnd: (2 sc., inc.)*6 (24)
5 Rnd: (3 sc., inc.)*6 (30)
6 Rnd: (4 sc., inc.)*6 (36)
7 Rnd: (5 sc., inc.)*6 (42)
8 Rnd: we crochet legs 7 sc., 6 sc. (with leg), 15 sc., 6 sc. (with leg), 8 sc. (42)
9-11 Rnd: without change 42 sc. 3 rnds (42)
12 Rnd: (5 sc., dec.)*6 (36)
13 Rnd: 36 sc. (36)
14 Rnd: (4 sc., dec.)*6 (30)
15 Rnd: 30 sc. (30)
16 Rnd: (3 sc., dec.)*6 (24)
17 Rnd: 24 sc. (24)
18 Rnd: (2 sc., dec.)*6 (18)
19 Rnd: we crochet hands 5 sc., 4 sc. (with a hand), 4 sc., 4 sc. (with hand) (18)
20 Rnd: (4 sc., dec.)*3 (15)
21 Rnd: (3 sc.,dec.)*3 (12)
We immediately proceed to crocheting the head
22 Rnd: 12 inc. (24)
23 Rnd: (3 sc., inc)*6 (30)
24 Rnd: (4 sc., inc.)*6 (36)
25-29 Rnd: without change 36 sc.5 rnds (36)
30 Rnd: (4 sc., dec.)*6 (30)
31 Rnd: 30 sc. (30)
32 Rnd: (3 sc., dec.)*6 (24)
33 Rnd: 24 sc. (24)
34 Rnd: (2 sc.,dec.)*6 (18)
35 Rnd: 18 sc. (18)
36 Rnd: 9 dec. (9)
Cut the yarn, pull the hole.
Hide the end inside the part.
Tail
Cut yarns of 6 cm. Attach the mane with knots: from the forehead to the necks.
We attach the tail in 7 and 8 rows.
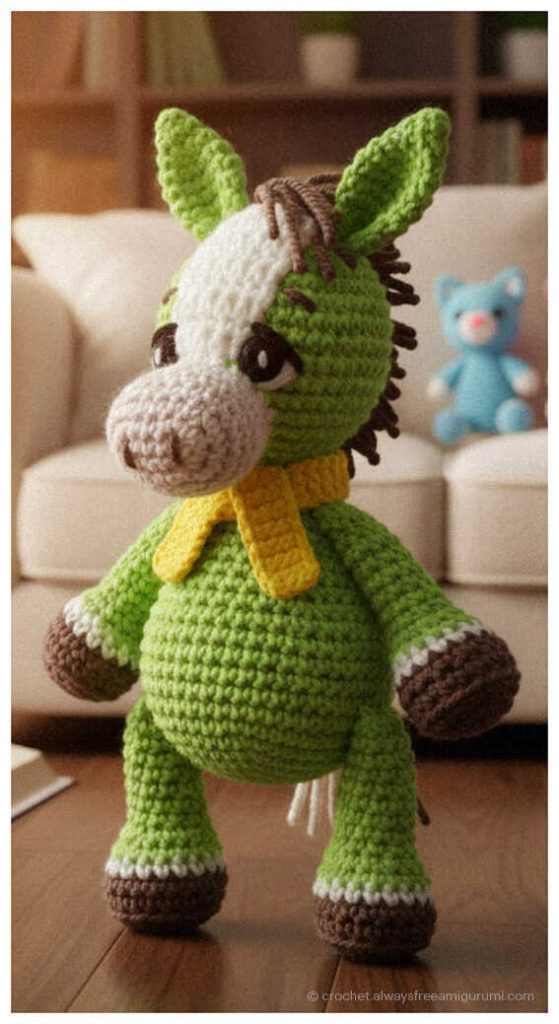
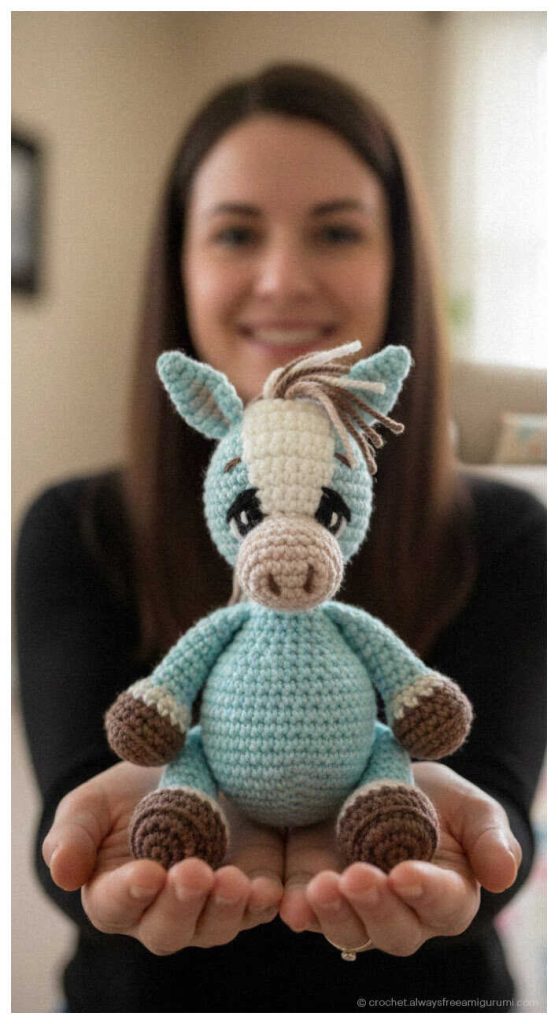
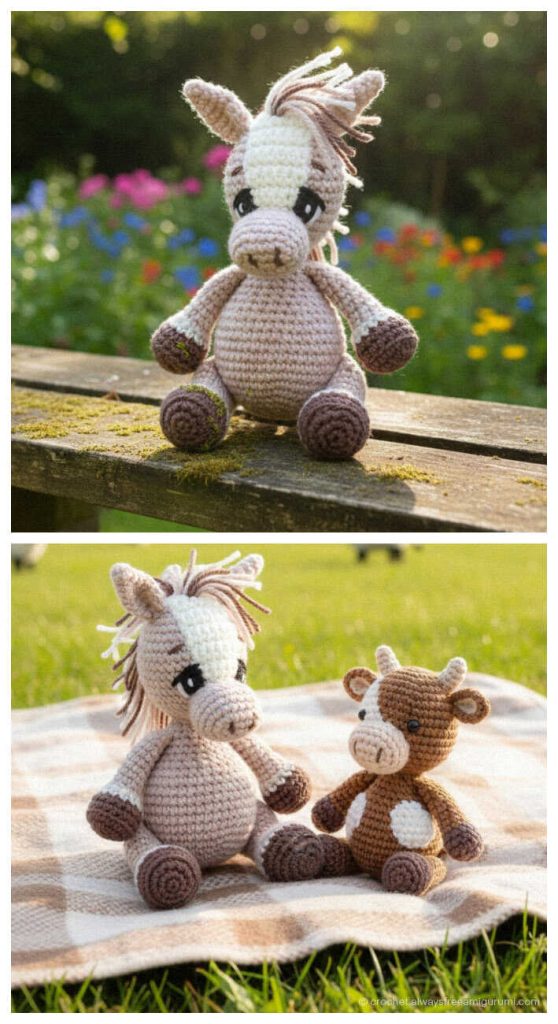
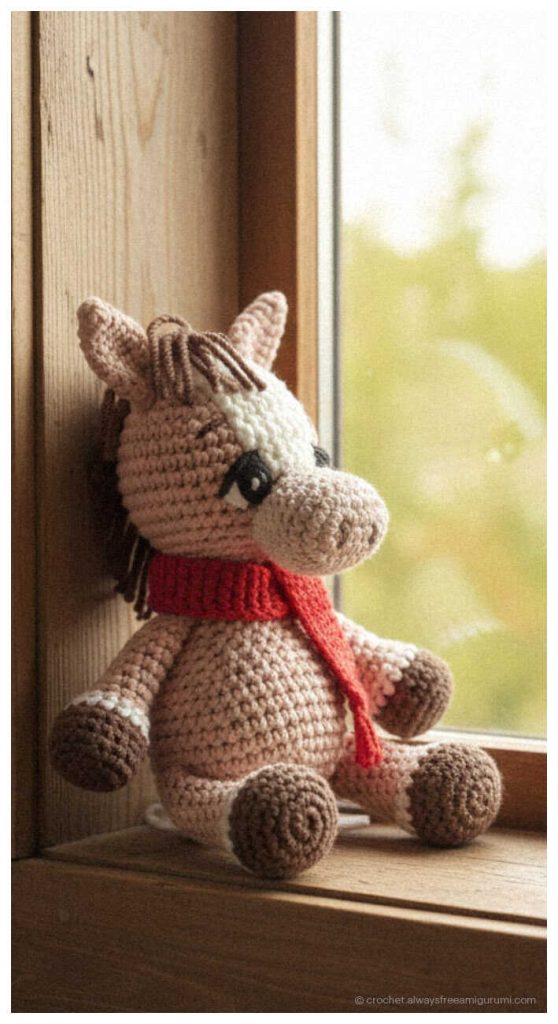
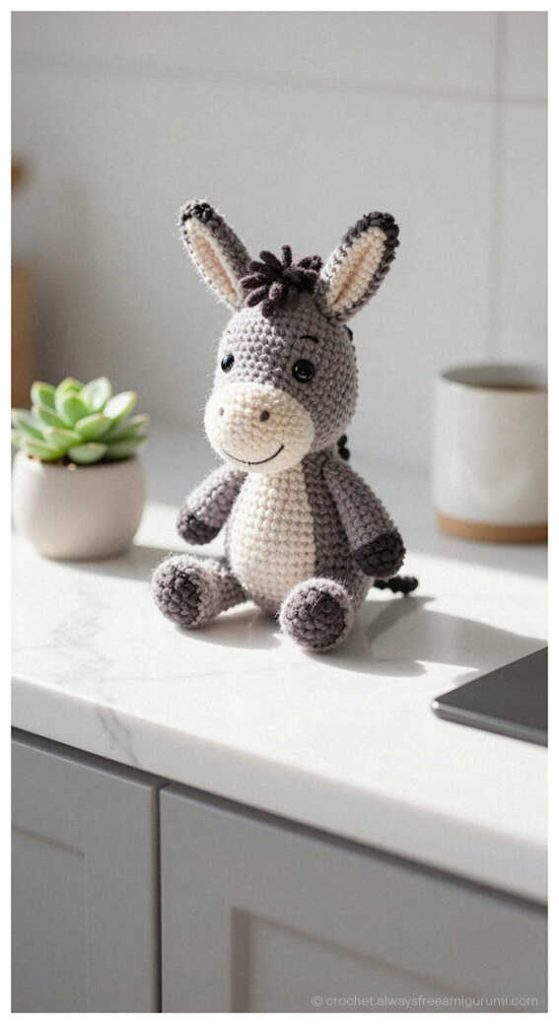
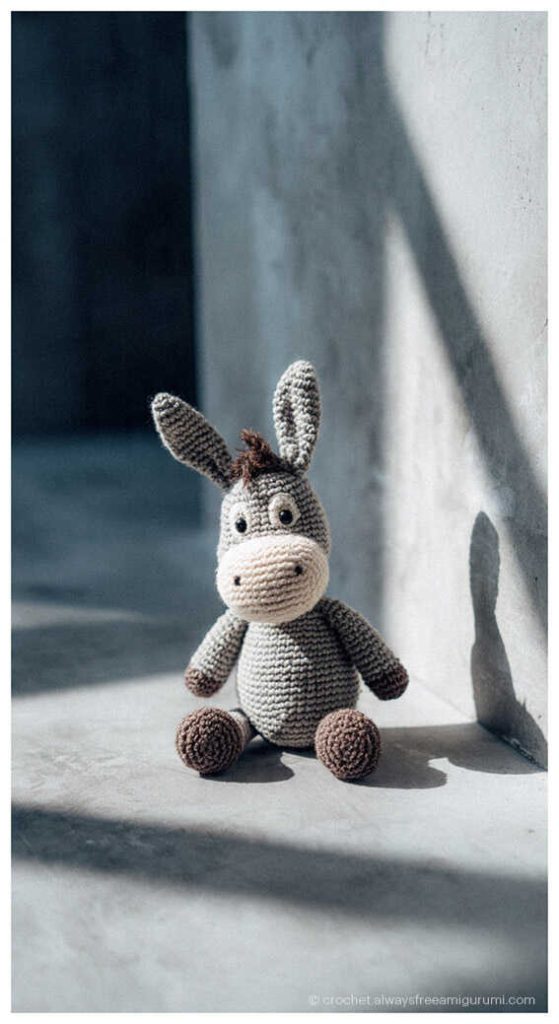
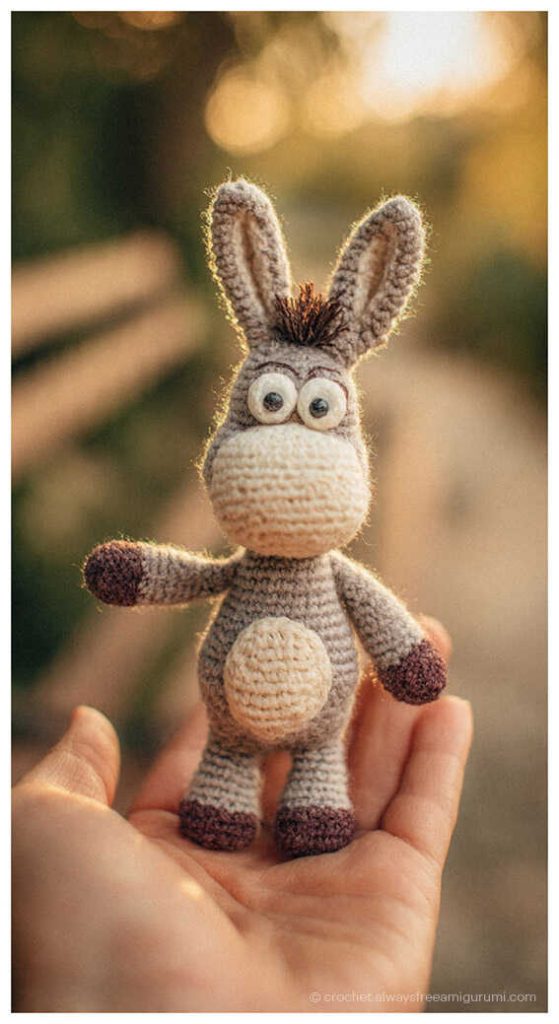
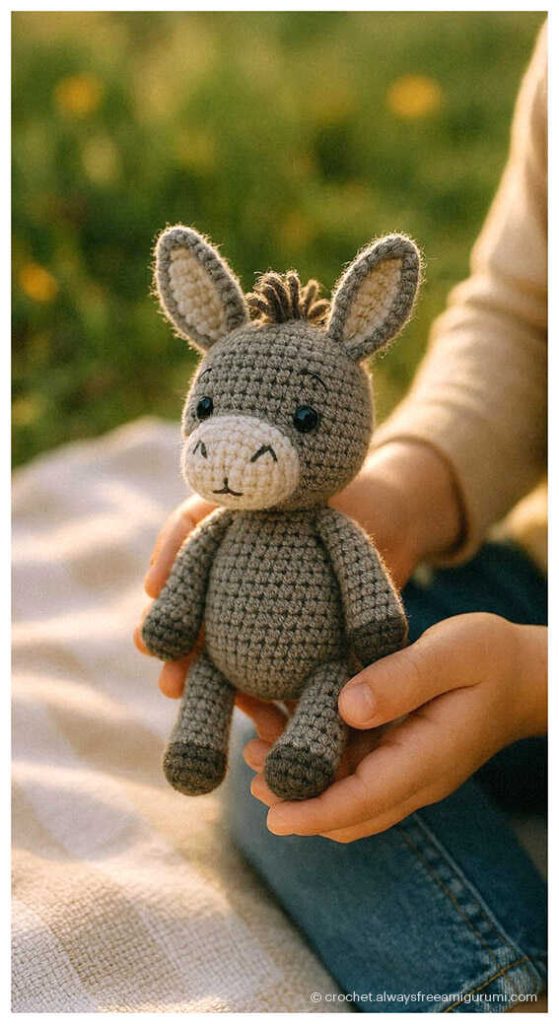
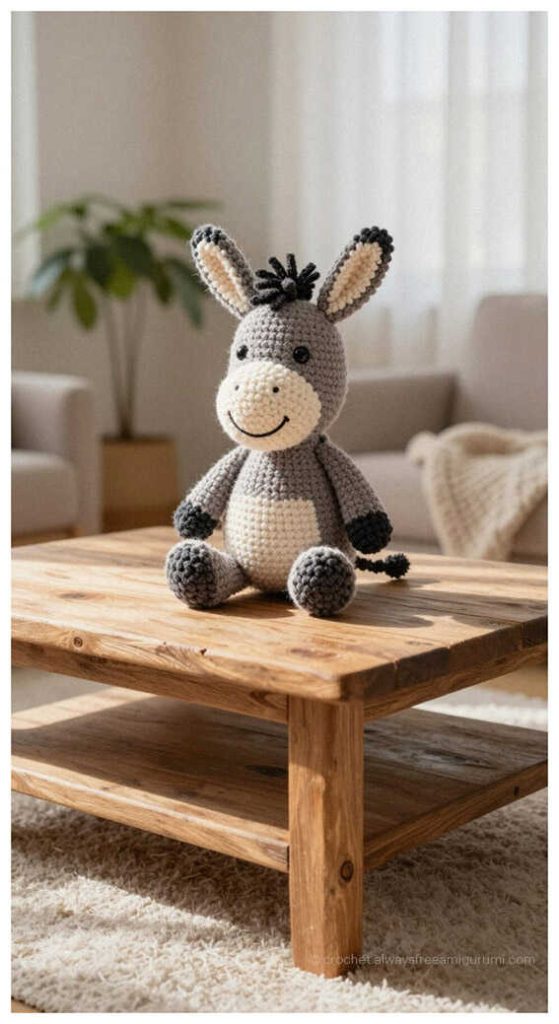
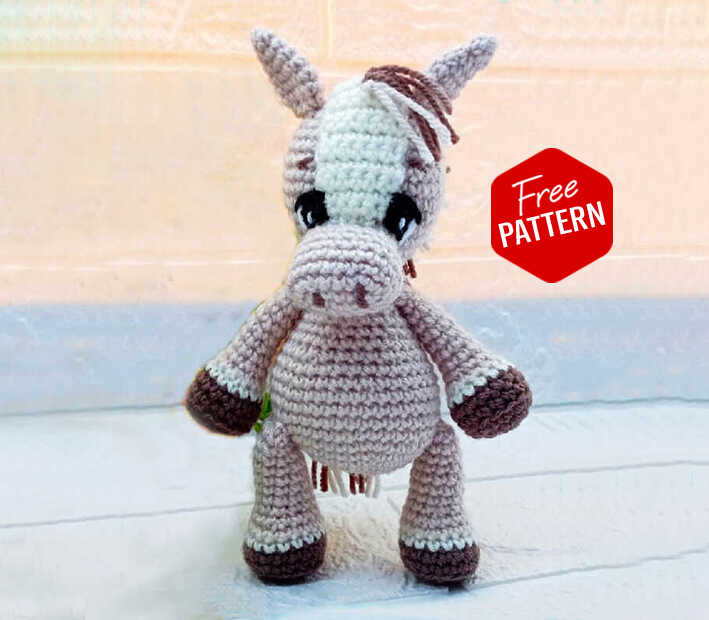
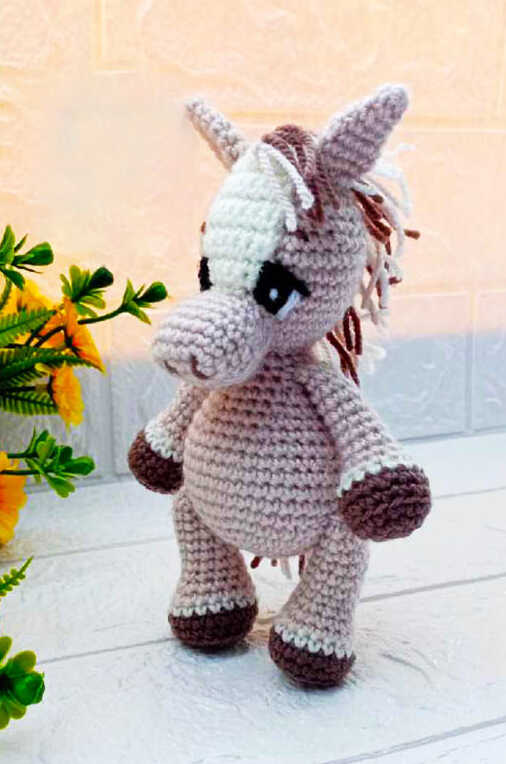
Unique amigurumi donkey ideas: