Free Amigurumi Fish Crochet Pattern: Easy Guide
Designer: Milly’s Magic Makes
Instagram: @millysmagicmakes
Etsy Shop: millysmagicmakes
This one’s for all the amigurumi lovers out there…
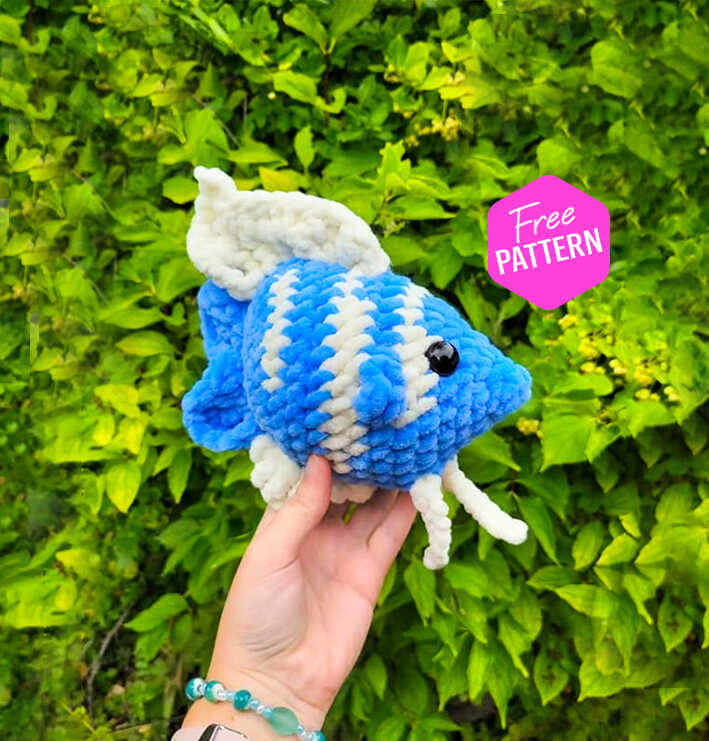
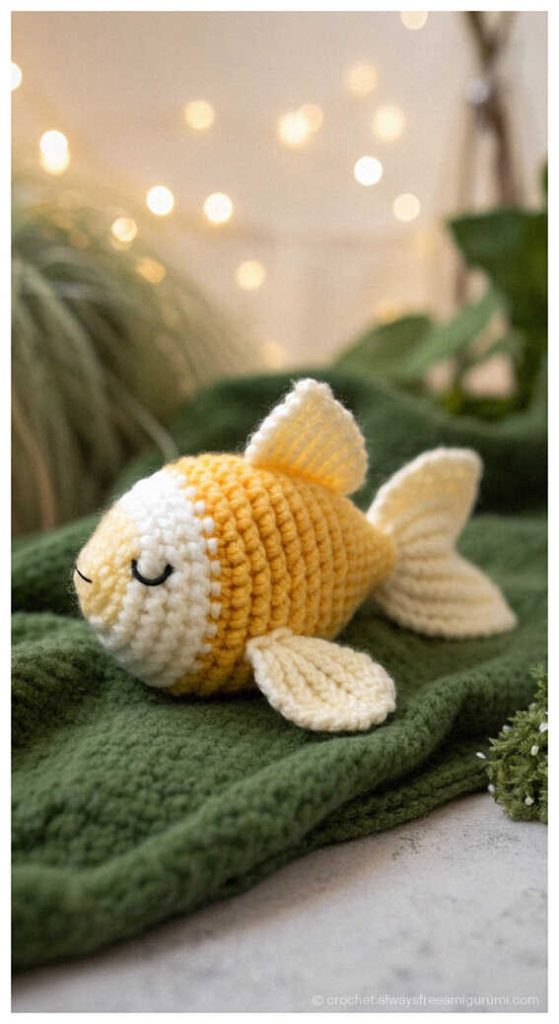
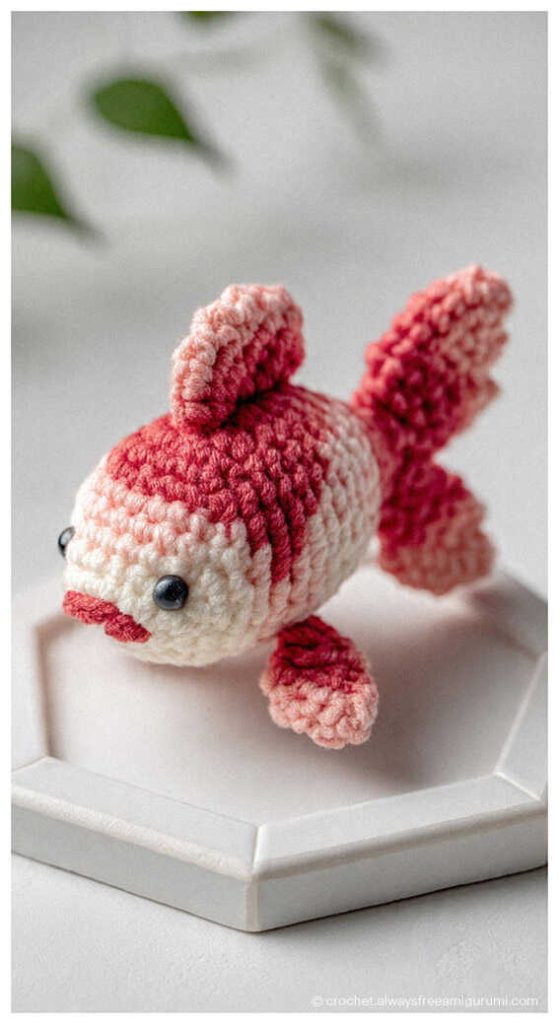
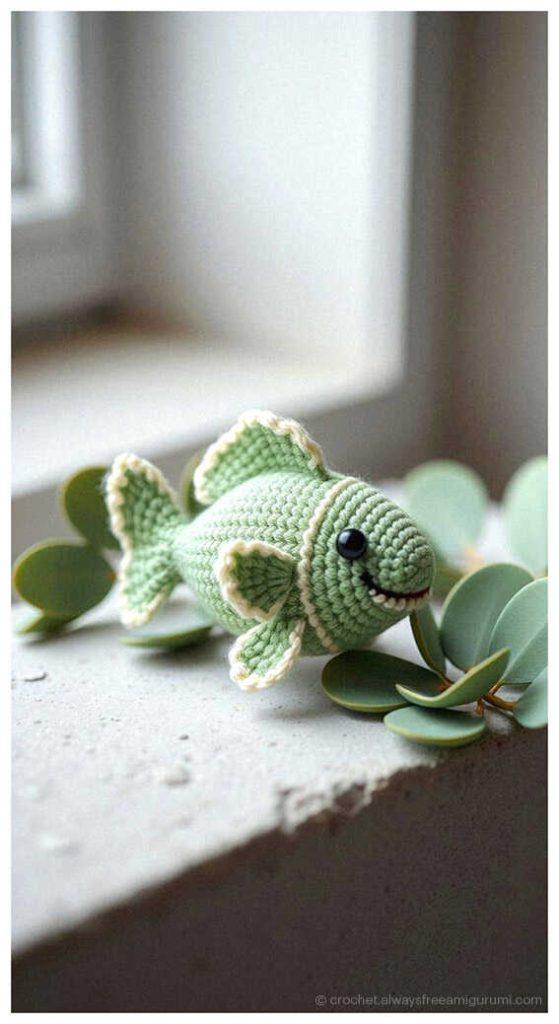
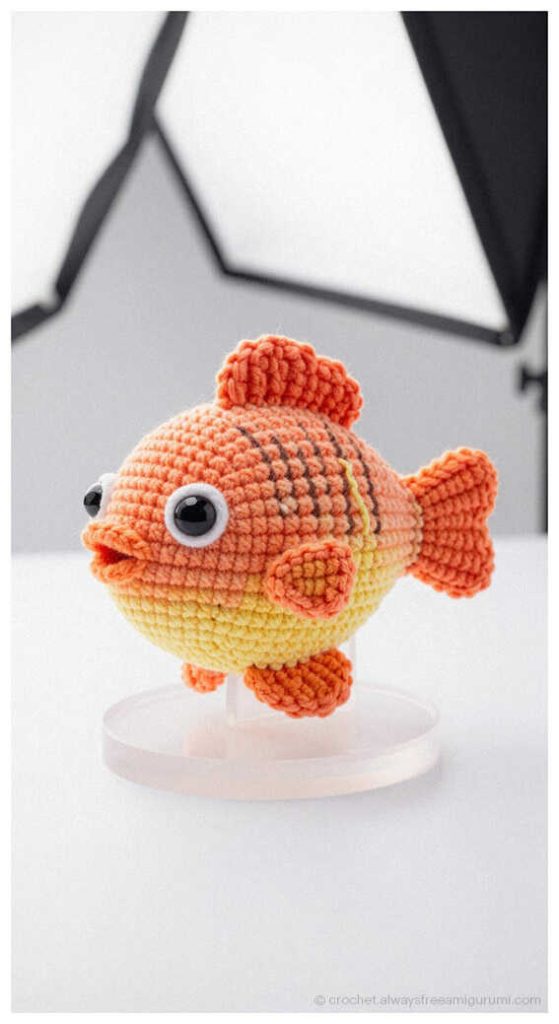
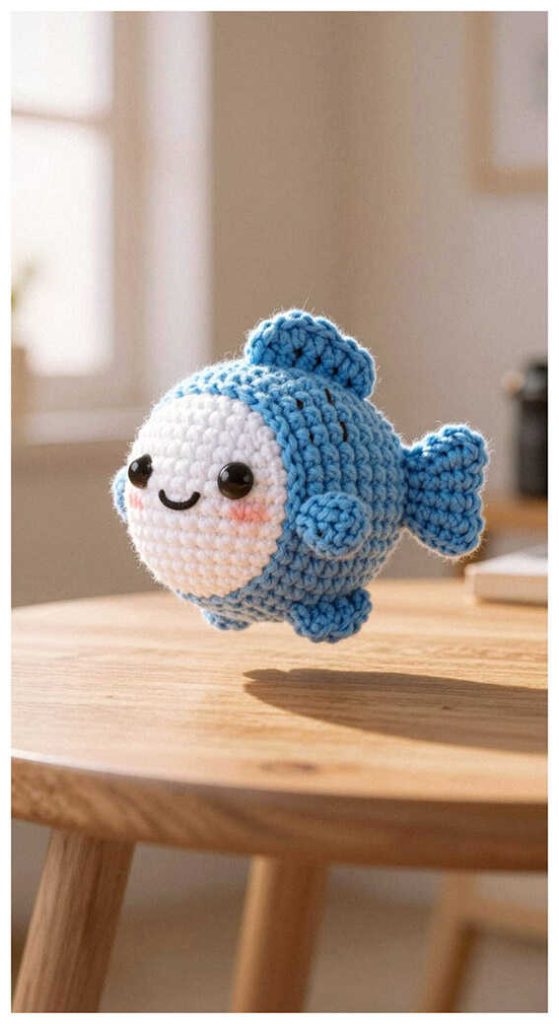
Plush Angel Free Crochet Fish Pattern by Milly’s Magic Makes is a delightful project that brings a splash of charm to your handmade collection. This cuddly plushie is perfect for ocean-themed nurseries or as a sweet gift for sea life lovers. Whether you are an experienced crafter or just starting out, this design is sure to brighten your day with its whimsical look and soft texture. Make sure to stay until the end of this post, where you will find even more wonderful amigurumi fish ideas to spark your next creative journey. A special thank you to Milly’s Magic Makes for designing and sharing this lovely pattern with us!
This step by step, beginner friendly guide uses a 5.5 mm hook, plush yarn, 14 mm safety eyes, polyfil stuffing, a stitch marker, a darning needle, and scissors. For a clean, ad-free, and Pinterest-friendly PDF version, you can visit the designer’s Etsy shop. For more detailed free patterns and daily inspiration, be sure to follow the designer’s Instagram: @millysmagicmakes. Happy crocheting!
Materials:
I used a 5.5 mm hook.(you can use any size depending on your yarn).
Stitch marker.
14 mm safety eyes.
Darning needle.
Scissors.
Polyfil/stuffing.
Yarn.
Terminology:
MR- Magic ring
Sc- Single crochet
Dc- Double crochet
Trc- Treble crochet
Inc- Increase
Dec- Decrease
Slst- Slip stitch
FLO- Front loop only
BLO- Back loop only
FO- Fasten off
Picot- chain 3 slst in 3rd chain from hook
HOW TO CROCHET AN AMIGURUMI ANGEL FISH
R1. 5 sc into MR (5)
R2. 5 sc around (5)
R3. 3 sc inc x5 (15)
R4. 15 sc (15)
For color change.
Pull up a loop of your main color.
Before pulling through both loops grab your accent color and pull through.
The stitches you will make in the accent color are written in bold.
R5. 5 sc (inc)x3, 4sc, (inc)x3 (21)
R6. 3 sc, 4 sc, (inc)x4, 4sc, 2sc (inc)x4 (29)
R7. 2sc, 18sc, 9sc (29)
The fins are worked in one stitch
Stitch mark each back loop if easier to find for the next round.
R8. 4sc, FLO: fin – (dc,ch1,sc,ch1,dc) 13 sc,
FLO: fin, 10 sc (29)
Next round work in the 2 back loops from R7.
R9. 2sc, 7sc, 6sc, 7sc, 7sc (29)
R10. 25sc, 4 sc (29)
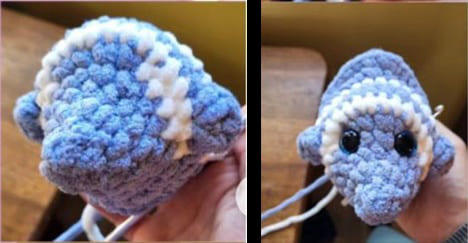
Place safety eyes between row 5-6 5 stitches apart.
R11. 11 sc, (inc)x3, 15 sc (32)
R12. 11 sc, (sc,inc)x3, 15 sc (35)
R13. 5sc, 8sc, 7sc, 8sc, 7sc (35)
R14. (3sc,dec)x7 (28)
R15. (2sc,dec)x7 (21)
You may have to adjust accent color in R13 depending on your tension.
Start stuffing, do not over stuff.
Try to keep it flatter while stuffing and not making the body too round like a ball.
R16. (sc,dec)x7 (14)
R17. (dec)x7 (7)
FO, sew closed.
Your fins can be any color you choose.
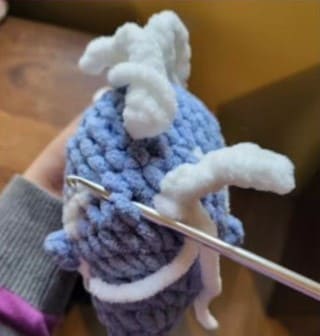
Now we will add the other fins, everything is no sew.
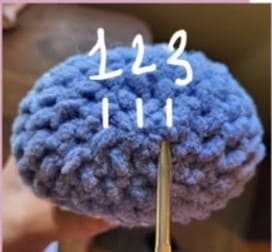
Where we ended and sewed closed, count 3 stitches vertically, and centered, 1 will start in R16 one in R17 and another in R16.
With accent color.
Attach with (sc, ch1, dc, ch1, trc, ch1, dc, ch1, sc)
All in one stitch.
Do not chain 1, (3sc) into next stitch
Do not chain 1
Into next stitch, (sc,ch1, dc, ch1, trc, ch1, dc, ch1, sc, ch1) and turn.
I have the fish sideways in this picture showing where to make your tail stitches.
Rest of tail
Dc into each stitch and each ch 1 space.
Only sc in the 3 sc from first row.
Return to dc for the rest of stitches and ch1 spaces.
Work the bottom and top fin back towards your tail.
Bottom fin
In row 11, 5 stitches straight from the tail attach with (sc,ch1,sc) into same stitch, ch1 (2sc) into next, ch1 (2dc) into next, ch1, (2trc) into next, picot: ch3, slst into 3rd chain from hook.
Slst into same stitch, FO.
Top fin
In row 11 on top, 5 stitches straight from the tail, attach with (sc,ch1,sc)into same stitch, ch1, (2sc,ch1, dc) into same stitch, ch1, dc in next stitch, ch1, trc, picot, 2 trc into next.
Ch1 turn.
Dc into each stitch and ch1 space, at our picot we will dc into it and make another picot, continue to dc into each stitch and ch1 space, slst into first sc.
2 long bottom fins
Find the best spot on the bottom of the body to make the 2 long fins, you want them in line with your side fins, and 1 stitch apart from eachother ch 8, slst in each chain down, slst back into the same stitch of the body (7).
Repeat for a second one.
Weave all of your ends in, and add blush if you’d like.
You may also like Amigurumi Jellyfish Free Pattern
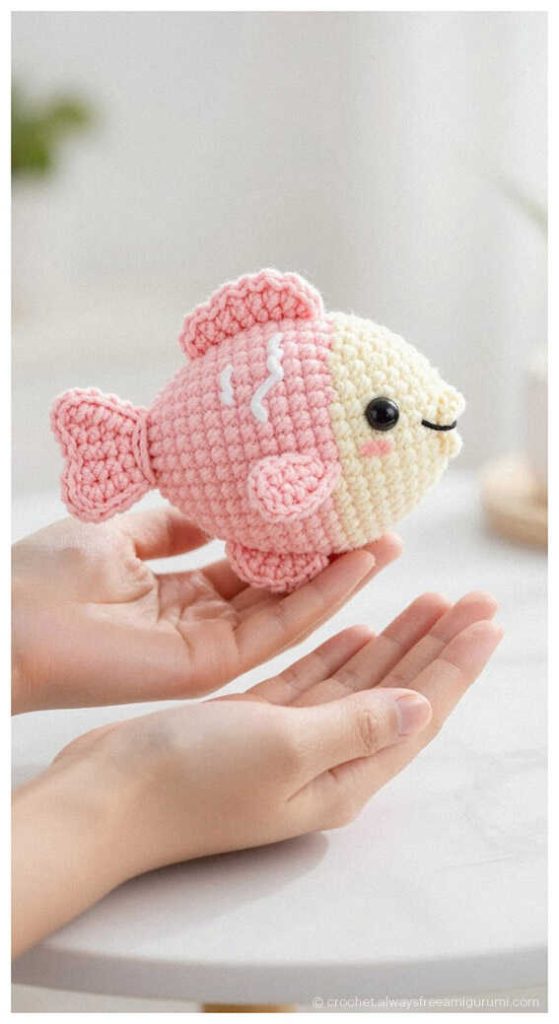
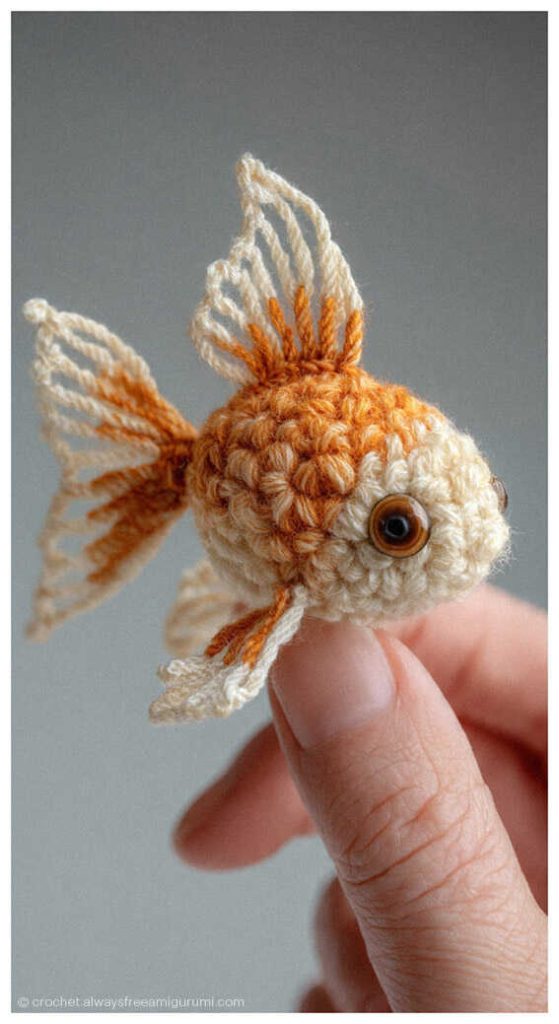
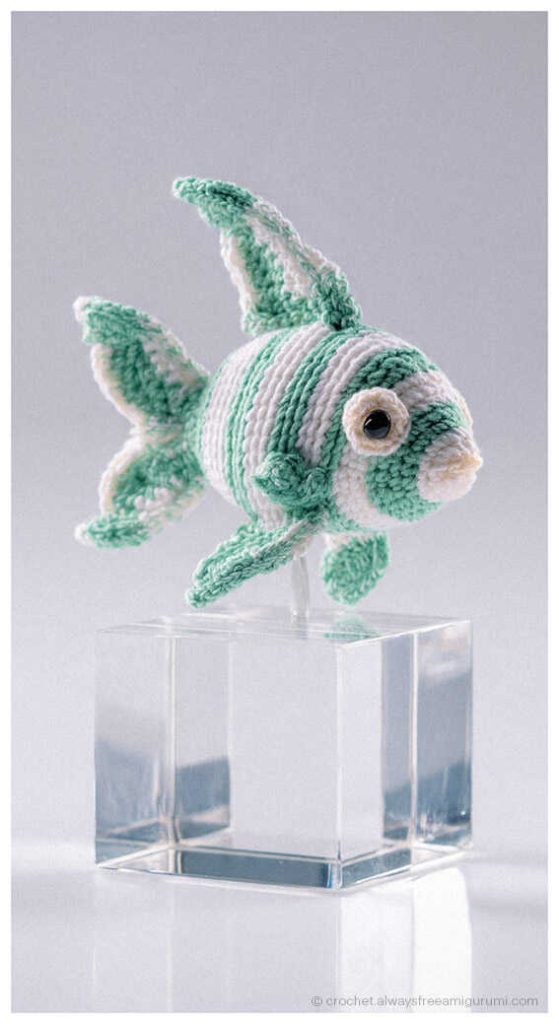
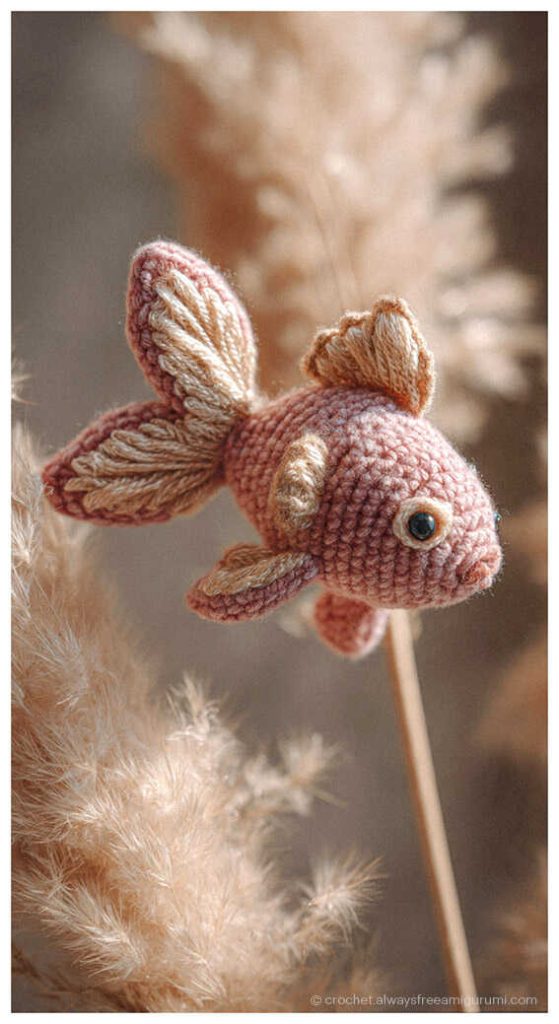
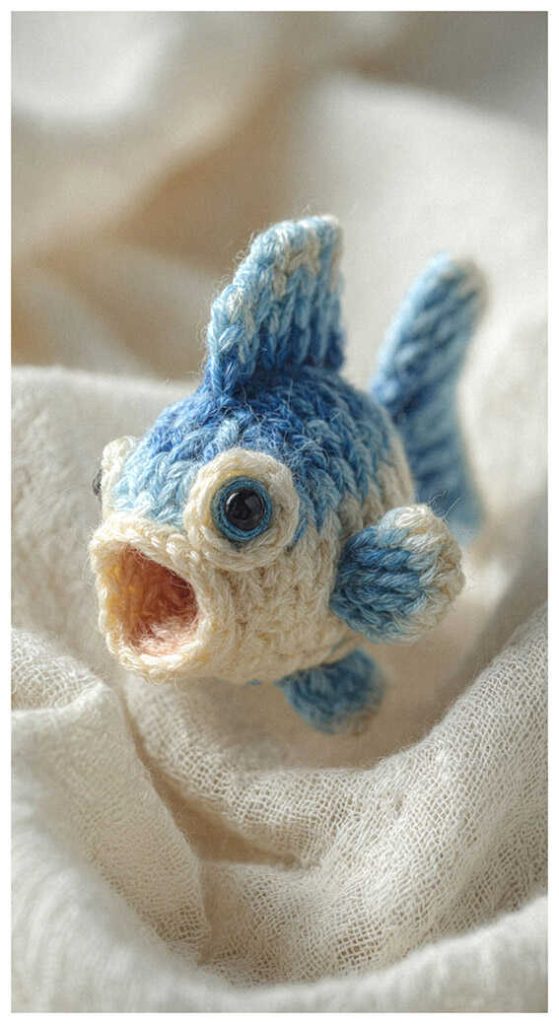
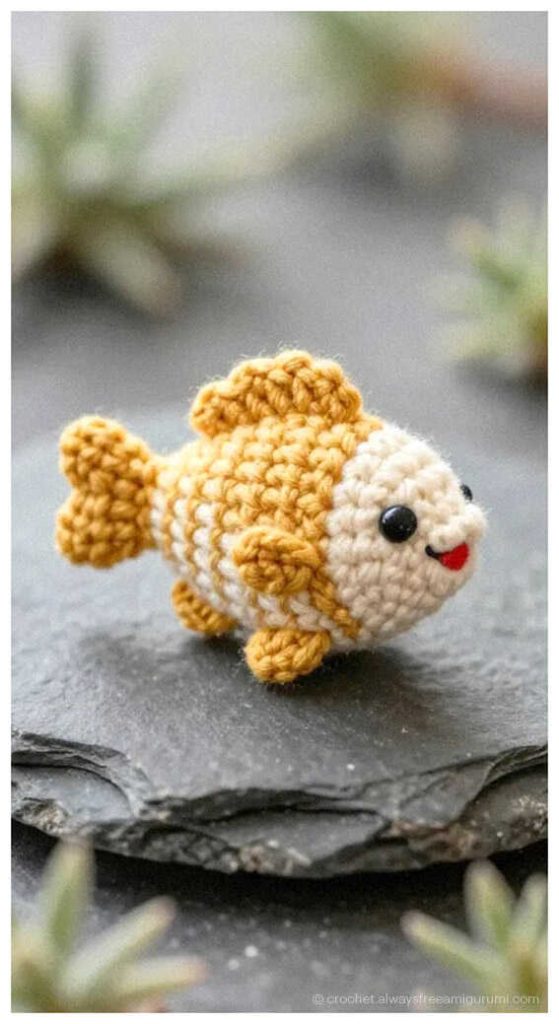
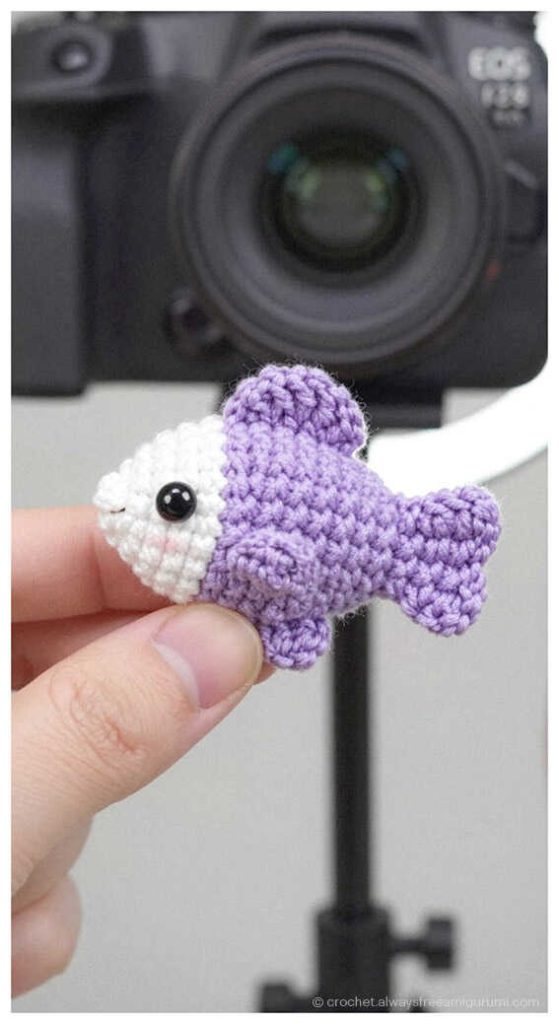
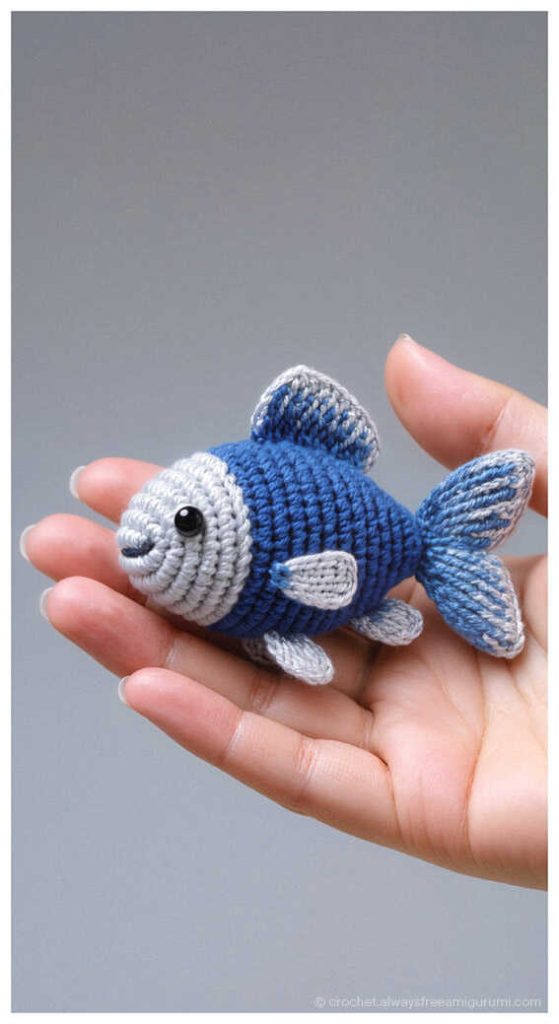
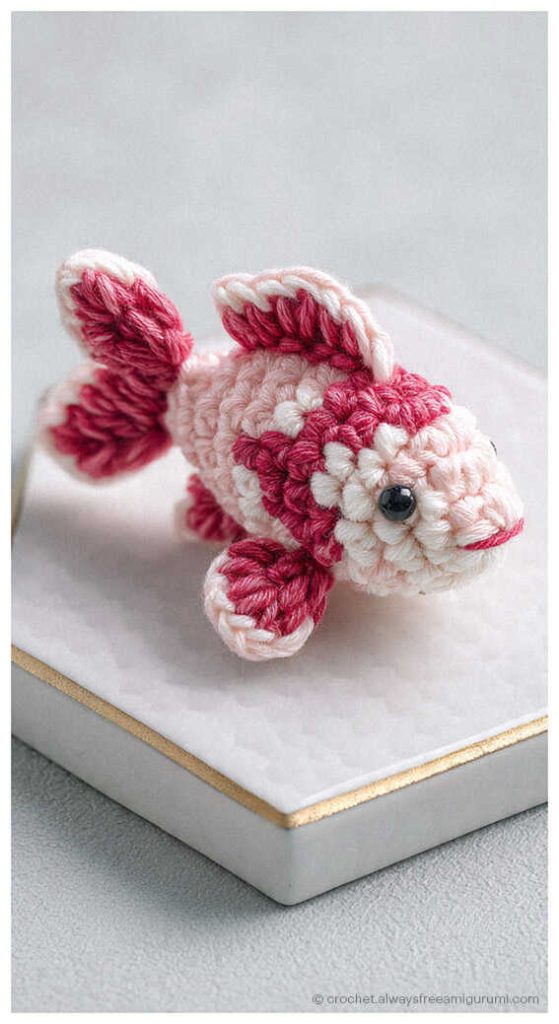
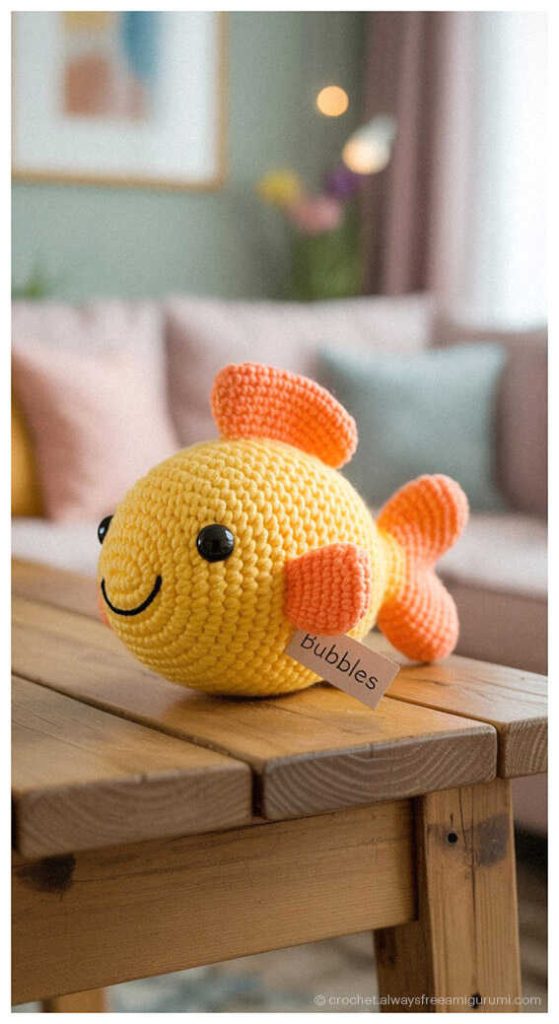
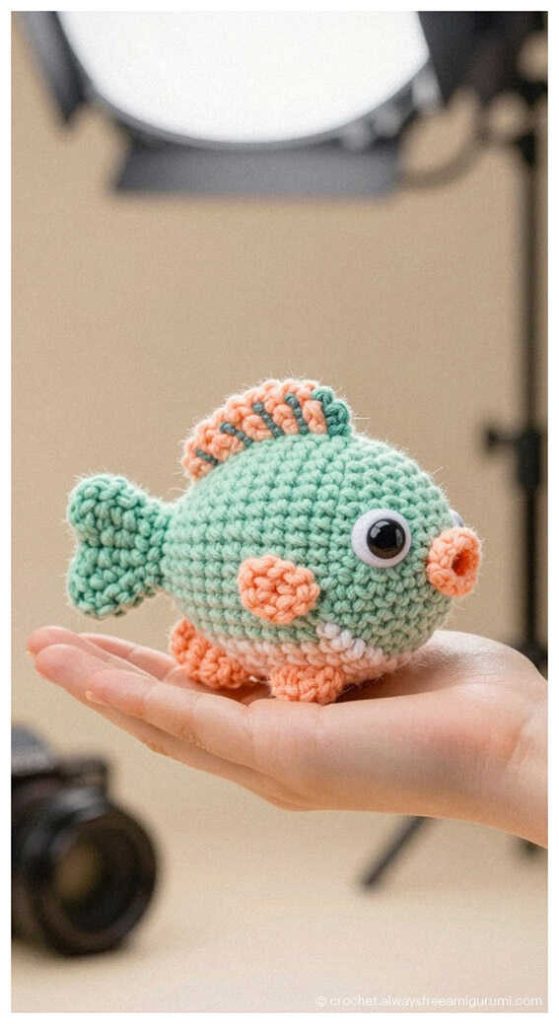
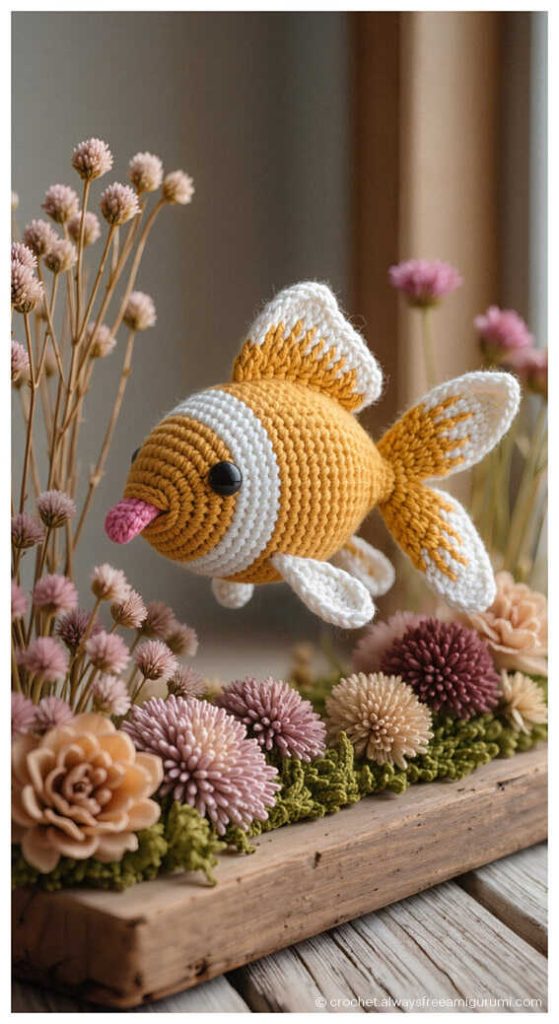
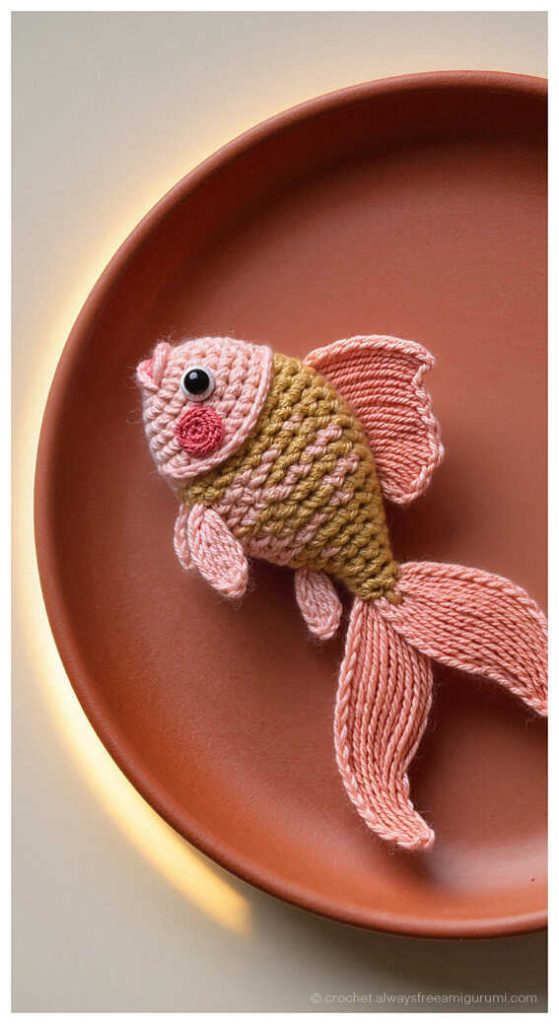
Trendy amigurumi fish ideas for all:
Crochet Magic: Bring Every Amigurumi Animal to Life
From playful amigurumi cats, dogs, and bunnies to enchanting amigurumi unicorns, amigurumi elephants, and amigurumi giraffes, our patterns let you create a world full of handmade charm. You’ll also find delightful amigurumi bears, amigurumi foxes, amigurumi pandas, amigurumi monkeys, amigurumi lambs, amigurumi pigs, amigurumi birds, amigurumi penguins, amigurumi llamas, amigurumi hippos, amigurumi dinosaurs, plus whimsical amigurumi dolls and amigurumi clowns. Each project is a chance to craft joy, learn new stitches, and share your creativity with loved ones. For endless inspiration and even more free amigurumi patterns, don’t forget to follow our Facebook page Always Free Amigurumi and join our friendly crochet community in the Facebook group to keep your crochet adventure going!
Keywords: free amigurumi patterns, crochet toys, amigurumi animals, beginner amigurumi, amigurumi dolls, crochet free patterns, crochet patterns, easy crochet